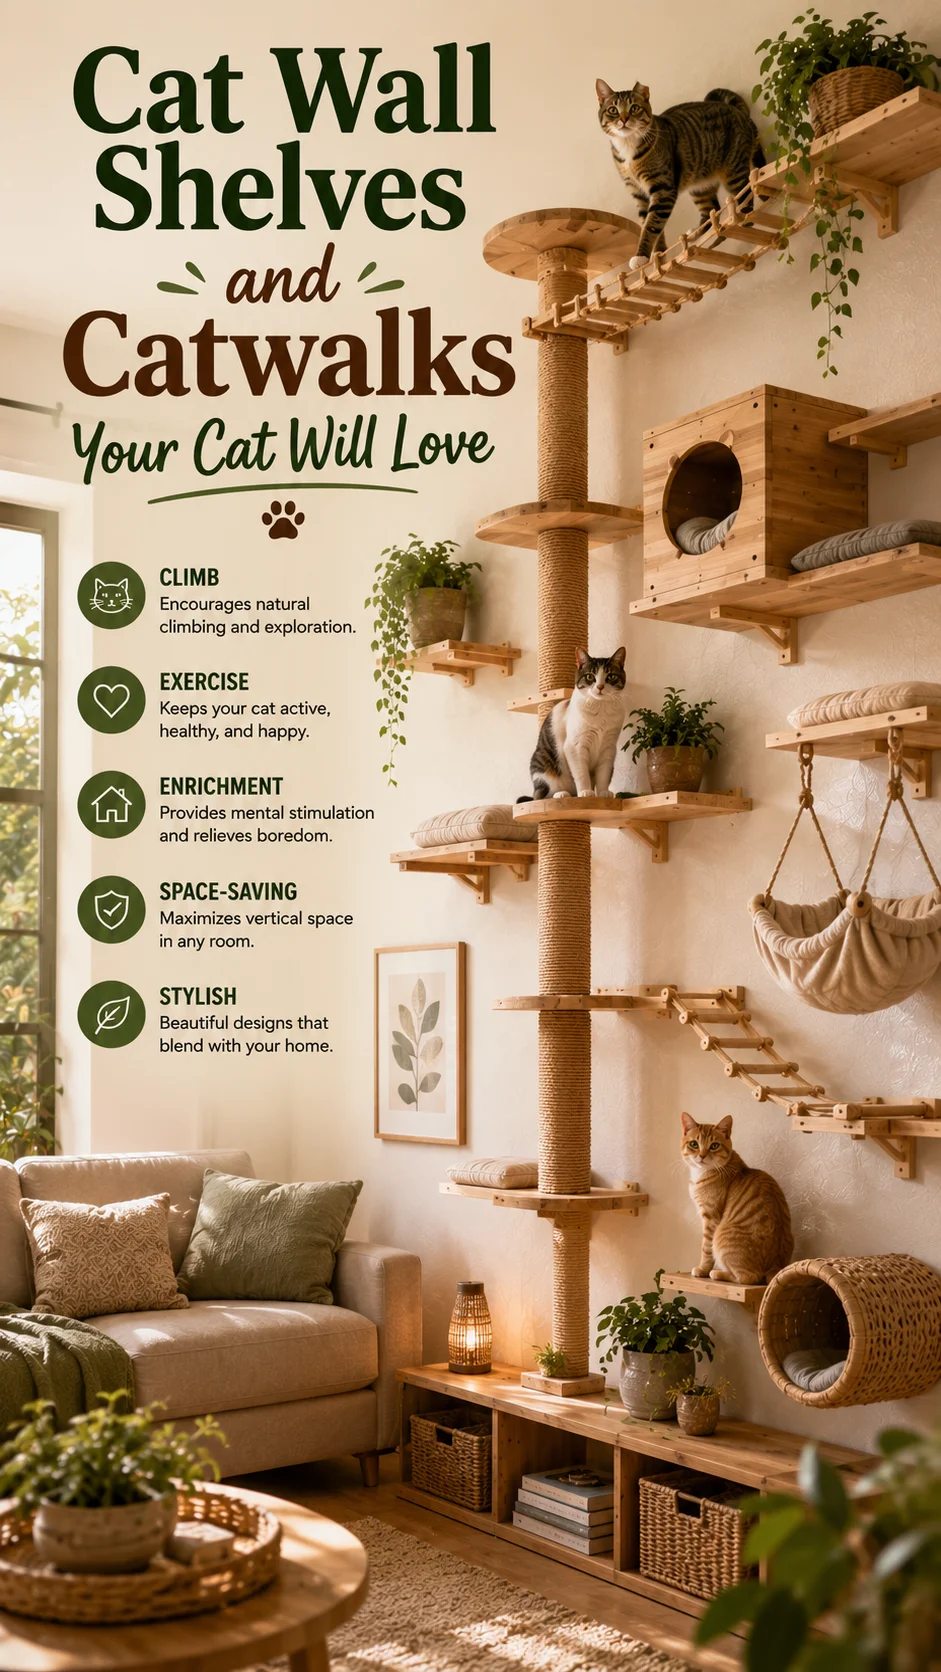
Building DIY cat wall shelves and catwalks is one of the smartest upgrades you can make for an indoor cat. It gives your cat vertical space to climb, jump, and relax — and it keeps your floor furniture free. With the right plan and basic tools, you can build a custom cat superhighway that fits your home perfectly.
Whether you have one cat or five, a well-designed catwalk system reduces stress, boredom, and territorial fights. It also looks great when done right.
- Key Takeaway: Wall-mounted cat shelves save floor space and give cats the vertical territory they need.
- Key Takeaway: You need to anchor shelves into wall studs or use heavy-duty drywall anchors rated for the weight.
- Key Takeaway: Spacing shelves 12–18 inches apart vertically makes jumping comfortable for most cats.
- Key Takeaway: Adding carpet, sisal, or non-slip pads to shelf surfaces prevents slipping and adds traction.
- Key Takeaway: Planning your catwalk route before you drill saves time and avoids unnecessary wall damage.
Why Cats Need Vertical Space
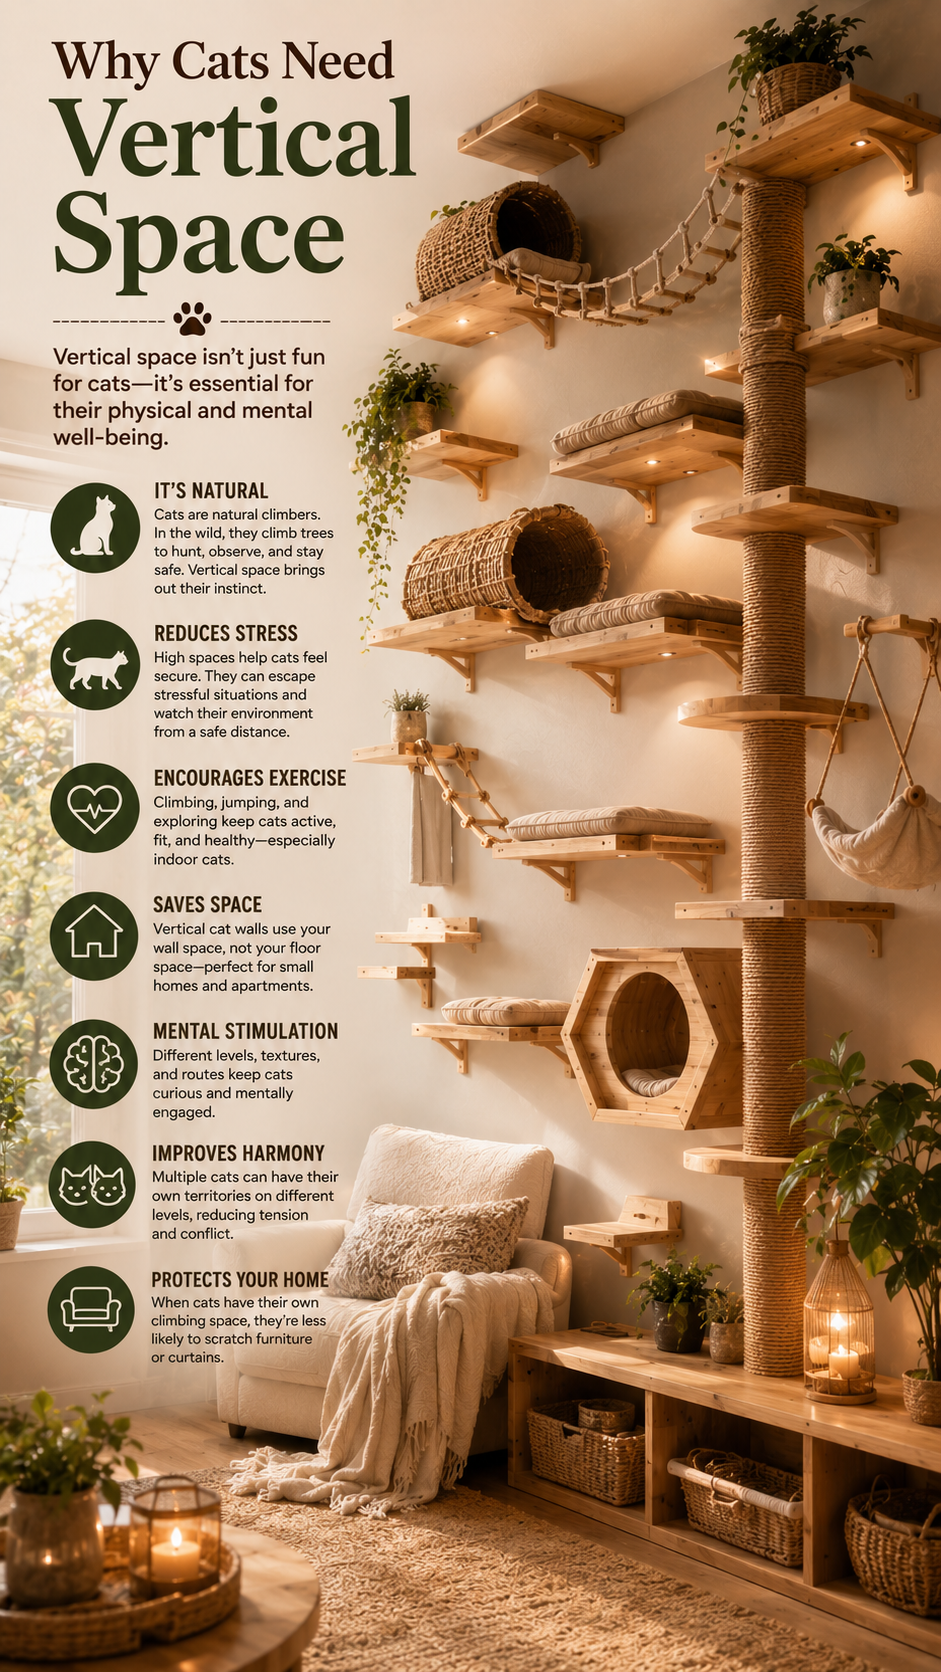
The Science Behind Climbing
Cats are hardwired to seek high ground. In the wild, elevation means safety, a better view of prey, and an escape route from threats. Your indoor cat has the same instincts, even if the biggest threat in your home is a toddler or a dog.
Cats that lack vertical territory often become stressed or anxious. That stress can show up as inappropriate scratching, aggression, or hiding. Giving them a catwalk system channels that energy productively.
Benefits for Multi-Cat Homes
When you have more than one cat, vertical space acts like extra square footage. Each cat can claim a different level without confrontation. This is one of the easiest ways to reduce tension in a multi-cat household.
Dominant cats naturally claim the highest spots. Knowing this, you can design your catwalk so every cat has a comfortable perch level to call their own.
Mental and Physical Health Perks
Jumping and climbing are natural exercise for cats. A well-designed catwalk keeps joints healthy, burns calories, and fights the boredom that leads to destructive behavior.
It also gives shy cats a safe place to observe the room without feeling exposed. A high shelf is basically a cat's version of a private retreat.
Planning Your DIY Cat Catwalk
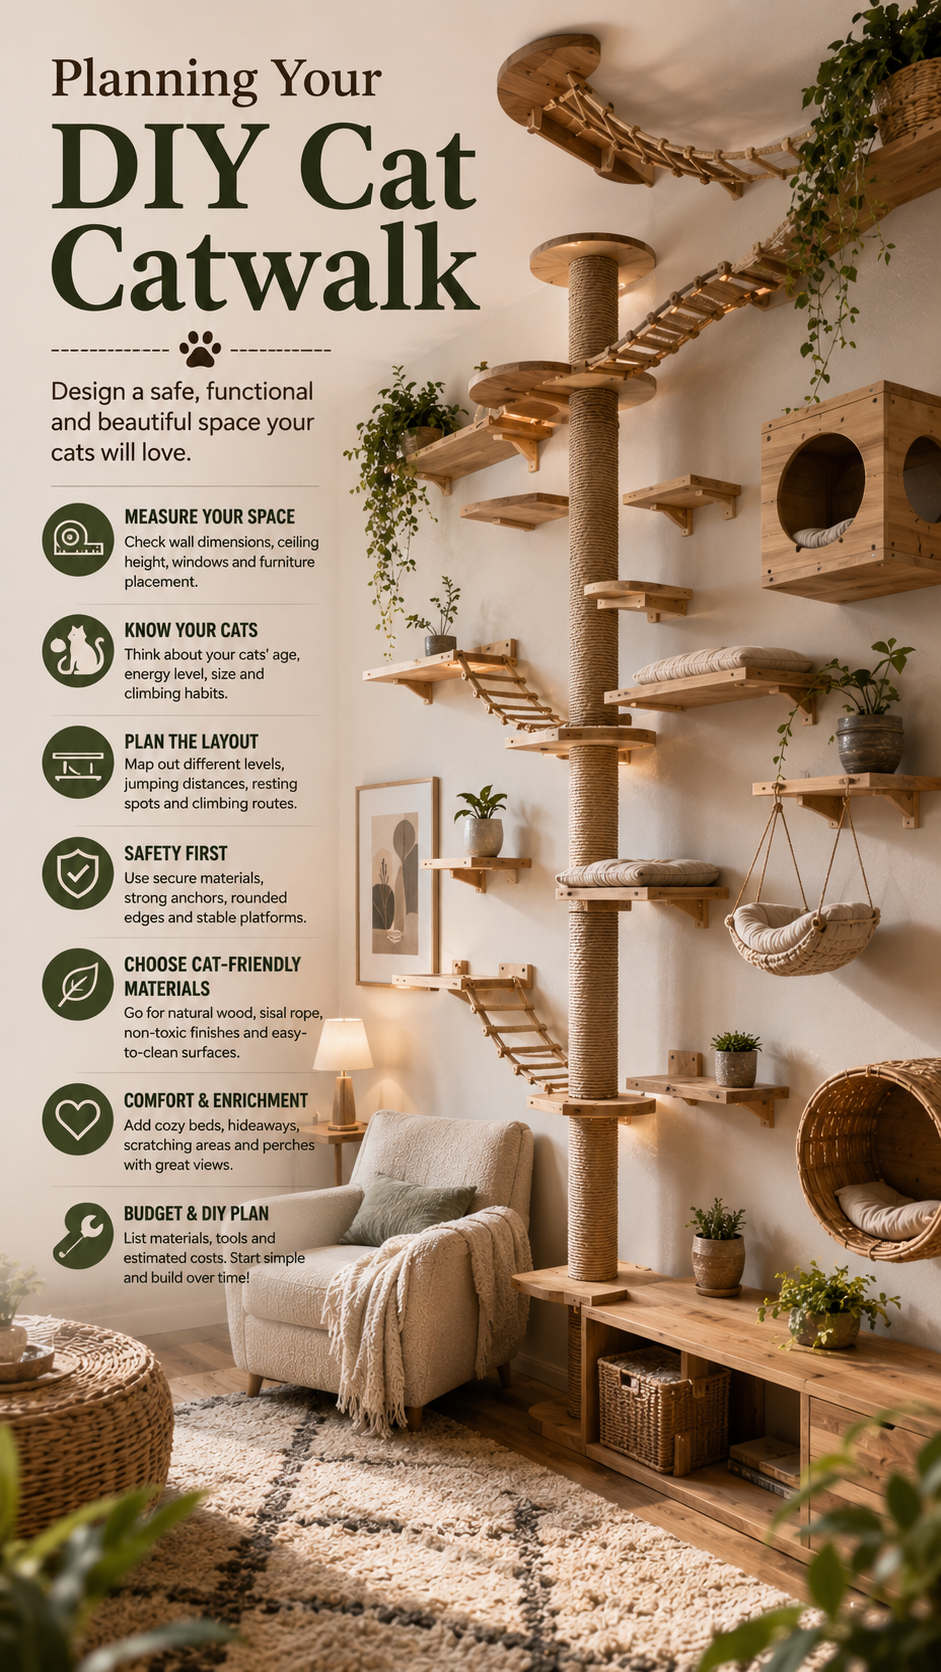
Map Out the Route First
Start by sketching the path you want your cat to travel. Think about entry and exit points — where will your cat get on and off the catwalk? Common access points include window sills, tall furniture, or a dedicated ramp or ladder.
Draw the route on paper before touching a drill. Decide if you want a straight run, an L-shape, or a full room loop. A loop is the gold standard because it gives your cat a continuous circuit with no dead ends.
Measure for Correct Spacing
Shelf height and spacing matter a lot. Place shelves 12 to 18 inches apart vertically so most cats can jump comfortably without straining. For kittens, senior cats, or overweight cats, keep the gaps on the smaller side.
Shelf depth should be at least 10 inches so your cat can walk and turn around safely. Wider is better — 12 to 14 inches gives larger breeds plenty of room.
Check Your Wall Structure
This step is non-negotiable. Cat shelves that aren't properly anchored are a serious safety hazard. Use a stud finder to locate the studs behind your drywall — most are spaced 16 inches apart.
If studs don't line up with your planned shelf positions, use toggle bolts or heavy-duty drywall anchors rated for at least 50 lbs per bracket. For a large catwalk with multiple shelves, always err on the side of more support, not less.
Materials and Tools You Need
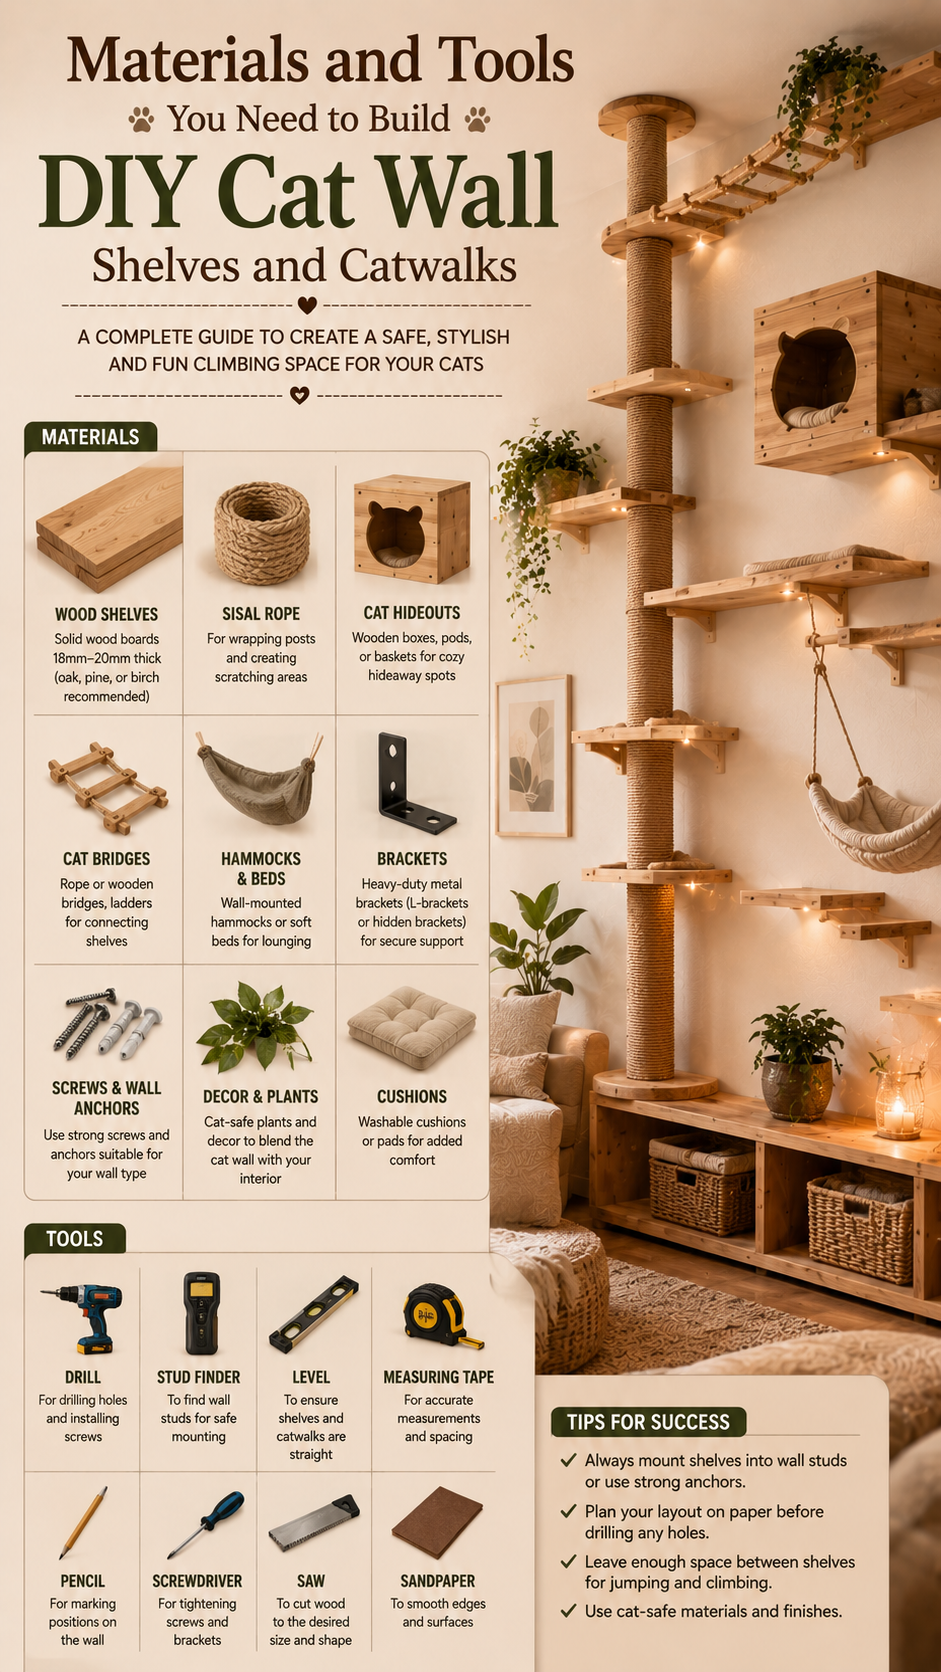
Wood Options for Shelves
Pine boards are the most popular choice because they're affordable, easy to cut, and widely available at hardware stores. A 1×10 or 1×12 pine board works perfectly for most cat shelves.
Plywood is another solid option and often cheaper for wider shelves. Avoid MDF — it's heavy and doesn't hold screws well over time, especially with the vibration of cats jumping on and off.
If you want a more finished look, hardwoods like oak or poplar look great and are very durable. They cost more but sand and stain beautifully.
Brackets and Hardware
Floating shelf brackets give your catwalk a clean, minimal look. You can also use standard L-brackets, which are more visible but extremely sturdy.
For heavier shelves or cats over 15 lbs, use two brackets per shelf minimum — three for shelves longer than 24 inches. Make sure every bracket is rated for more weight than you expect to put on it.
Surface Treatments for Traction
A smooth wood shelf is slippery for cats, especially when they land hard from a jump. Cover shelves with indoor/outdoor carpet cut to size, sisal fabric, or non-slip drawer liner.
Carpet squares are easy to cut and can be staple-gunned or glued to the shelf. Sisal gives a natural look and lets cats scratch lightly as they walk. Non-slip liner is the cheapest option and surprisingly effective.
Step-by-Step Build Guide

Cutting and Sanding Your Shelves
Measure and mark each shelf board to your planned lengths. Cut with a circular saw, jigsaw, or have the hardware store cut them for you. Sand all edges smooth — rough edges can snag on your cat's paws or fur.
If you plan to paint or stain the shelves, do it now before mounting. Use non-toxic, pet-safe paint or stain and let it cure fully before installation. Curing time is usually 24–72 hours depending on the product.
Installing the Brackets
Hold each bracket against the wall at your planned height and mark the screw holes with a pencil. Pre-drill pilot holes to prevent the wood from splitting, especially close to stud edges.
Drive screws firmly into studs or anchors. Give each bracket a firm tug before mounting the shelf — if it wiggles at all, add another anchor or move to a stud location. Safety first, always.
Mounting the Shelves and Adding Traction
Set each shelf onto its brackets and secure it with screws from underneath or through the bracket holes. Check that every shelf is level using a small spirit level — a tilted shelf is uncomfortable and unsafe for your cat.
Once shelves are mounted, cut and attach your carpet, sisal, or liner. Staple guns work best for carpet. If you're using adhesive, let it set fully before introducing your cat to the catwalk.
Accessories and Upgrades to Consider
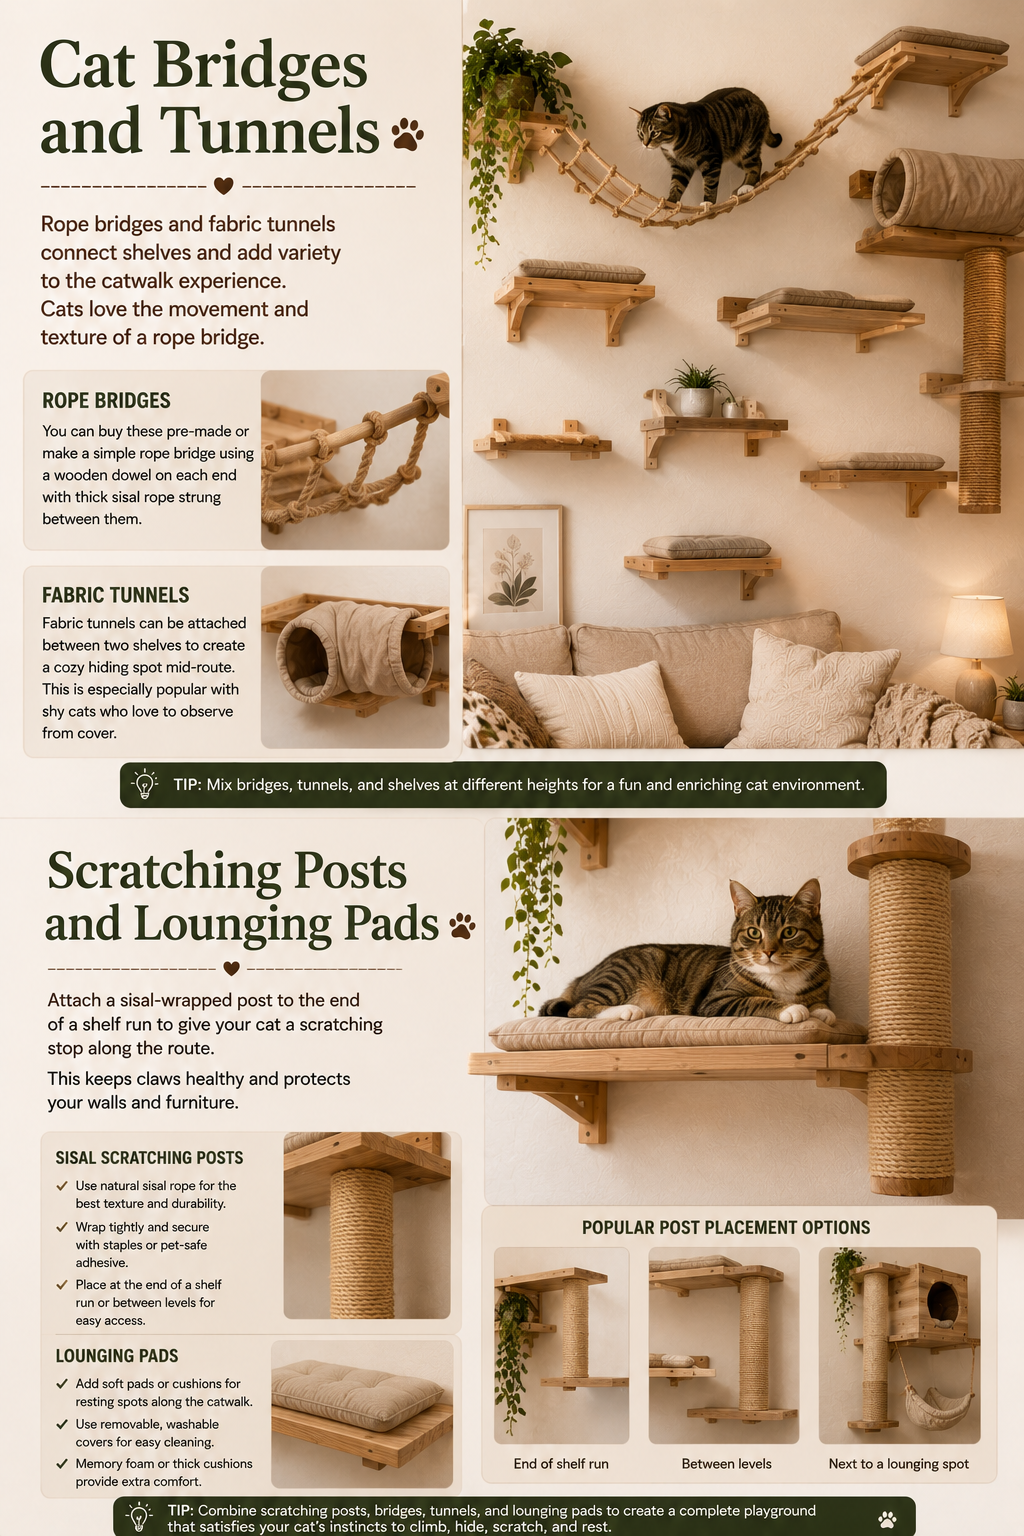
Cat Bridges and Tunnels
Rope bridges and fabric tunnels connect shelves and add variety to the catwalk experience. Cats love the movement and texture of a rope bridge. You can buy these pre-made or make a simple rope bridge using a wooden dowel on each end with thick sisal rope strung between them.
Fabric tunnels can be attached between two shelves to create a cozy hiding spot mid-route. This is especially popular with shy cats who love to observe from cover.
Scratching Posts and Lounging Pads
Attach a sisal-wrapped post to the end of a shelf run to give your cat a scratching stop along the route. This keeps claws healthy and protects your walls and furniture.
Add a plush pad or bolster cushion on wider shelves to create dedicated lounging spots. Most cats will pick a favorite perch and return to it daily.
Product Recommendations
You don't have to build every component yourself. Several great products make DIY catwalks easier and more polished. Here are some worth checking out:
Recommended Products
- Mr. Pen- Nail Assortment Kit, 600 Pcs, 4 Sizes, Silver, Small Nails for Hanging Pictures, Finishing Nails
- Mr. Pen Bolts, Nuts, and Washers Kit – 700pc Metric Screw Assortment
- Mr. Pen- Self Adhesive Magnet Dots, 40 pcs, Flexible, 1.2″ x 2mm Thickness, Magnetic Dots with Adhesive Backing, Perfect for Crafts, DIY Projects & Decorative Magnet
Pre-made floating cat shelves, modular wall-mount systems, and rope bridges can be integrated into a custom build to save time. This hybrid approach is popular with beginners who want the custom look without building everything from scratch.
Look for systems that use hidden hardware for a clean aesthetic, and always check the weight rating before buying. For a full guide to choosing the best wall-mounted cat furniture.
Common Mistakes to Avoid
Skipping the Safety Check
The most dangerous mistake is mounting shelves without properly checking wall anchoring. A shelf that pulls out of the wall mid-jump can seriously injure your cat. Always test every shelf with your full body weight pressed down before letting your cat use it.
Also, check that shelves have no sharp edges, exposed screw heads, or splinters after installation. Run your hand over every surface before your cat does.
Building Dead-End Routes
A catwalk with only one way on and one way off creates a trap. If another cat or a loud noise startles your cat, they need an escape route. Always design at least two access points into your catwalk system.
Dead ends cause anxiety in cats and can lead to territorial standoffs between cats. The more exit routes you build in, the more confident and relaxed your cats will be using the system.
Ignoring Your Cat's Abilities
Spacing shelves for an athletic young cat may not work for a 12-year-old cat with arthritis. Know your cat's physical limits before finalizing shelf heights and gaps. When in doubt, add intermediate shelves as stepping stones.
Introduce shy cats to the catwalk gradually using treats and toys. Don't expect every cat to immediately leap onto a new structure — patience and positive reinforcement work best.
Frequently Asked Questions
How high should cat wall shelves be from the floor?
Most cat wall shelves work best when the lowest shelf is 3 to 4 feet off the floor — high enough to feel elevated, but low enough for easy access. The highest shelf can go up to 6 or 7 feet, especially if you include stepping shelves in between.
What type of wood is best for DIY cat shelves?
Pine is the most practical choice for beginners — it's affordable, lightweight, and easy to work with. For a more durable finish, consider poplar or oak. Avoid MDF and particle board, which don't hold hardware well and can swell if they get wet.
How do I get my cat to use the new wall shelves?
Start by placing treats or a favorite toy on the lowest shelf. Let your cat explore at their own pace — never force them onto the shelves. Rubbing a bit of catnip on the surfaces can also encourage initial exploration. Most cats will start using a catwalk naturally within a few days.
How much weight can DIY cat wall shelves hold?
A shelf anchored into two wall studs with proper screws can typically hold 50 to 100 lbs or more. For cats, this is more than enough. The key is correct installation — into studs or with toggle bolts rated for the load. Always check the weight rating on the brackets you use.
Can I build a cat catwalk in an apartment?
Yes, but check your lease first. Many landlords allow wall mounting with proper repair on move-out. Use the smallest necessary hardware and patch holes cleanly when you leave. Some renters opt for free-standing modular systems that don't require drilling at all.
Final Thoughts
Building DIY cat wall shelves and catwalks is a rewarding weekend project that makes a real difference in your cat's quality of life. With solid planning, the right materials, and careful installation, you can create a safe, beautiful climbing system your cat will use every single day. Start simple, build confidently, and watch your cat thrive.
This website contains affiliate links. As an Amazon Associate and an affiliate for other programs, I earn from qualifying purchases. Clicking on an affiliate link may result in a commission being paid to me at no additional cost to you.

Leave a Reply