A DIY cat wall turns empty vertical space into a playground your cat will actually use. It gives indoor cats the climbing, jumping, and perching they crave — without taking up floor space. Best of all, you can build one on almost any budget.
Whether you have one cat or five, a custom cat wall keeps your furniture safe and your cats mentally stimulated. This guide walks you through everything you need to know to plan, build, and style a cat wall at home.
- Key Takeaway 1: A DIY cat wall costs far less than store-bought modular systems — most builds run $50–$200 depending on materials.
- Key Takeaway 2: Wall-mounted shelves, bridges, ramps, and hideaways can all be combined to create a full climbing circuit.
- Key Takeaway 3: Weight capacity and stud placement are the two most important safety factors before you start drilling.
- Key Takeaway 4: Carpet, sisal, and faux fur are the best surface materials for grip and comfort on cat shelves.
- Key Takeaway 5: Plan your layout on paper first — measure your wall, your cat's jumping distance, and the height between each level.
Why Build a DIY Cat Wall?
The Benefits for Your Cat
Cats are natural climbers. In the wild, vertical height means safety and a better view of their territory.
An indoor cat without climbing options often gets bored, destructive, or anxious. A cat wall gives them a healthy outlet for that instinct every single day.
Studies on feline enrichment show that vertical space reduces stress in multi-cat households. More levels mean fewer conflicts over territory on the ground.
The Benefits for You
A well-designed cat wall keeps your cat off counters, curtain rods, and bookshelves. Your belongings stay safer, and your cat stays happier — that's a win for everyone.
A DIY build also lets you match your home's style. You can choose wood tones, paint colors, and fabrics that actually look good in your space.
You'll also save a lot of money compared to branded cat furniture systems, which can cost $500 or more for a full setup.
DIY vs. Buying Ready-Made
Ready-made cat wall kits are convenient, but they often come in limited sizes and neutral finishes that may not fit your wall. DIY gives you full control over spacing, height, and materials.
The downside is that building takes time and basic tools. If you're comfortable with a drill and a stud finder, you're ready to start.
For tips on keeping your cat active beyond the wall, check out Festive Felines: Cats And Christmas Trees for enrichment ideas that pair well with any climbing setup.
Planning Your DIY Cat Wall Layout
Measure Your Wall and Your Cat
Start by measuring the full width and height of your chosen wall. Note the location of windows, outlets, and doors — these will affect where you can place shelves.
Next, think about your cat's jump range. Most cats can jump 4–5 feet straight up. Space shelves 12–18 inches apart vertically so your cat can move between them easily.
For kittens, senior cats, or cats with joint issues, keep spacing closer to 10–12 inches and include ramps between levels.
Sketch a Layout Before You Drill
Draw your wall to scale on graph paper or use a free app like RoomSketcher. Map out each shelf, bridge, and hideaway before touching a drill.
Think about a start point your cat can reach from the floor — a low shelf, a ramp, or a cat tree placed beside the wall. Your layout needs a clear entry point.
Also, plan an exit point near the top so your cat doesn't feel trapped. A wide perch or a hammock at the peak works great.
Find Your Studs
Every shelf must be anchored into wall studs — not just drywall. Drywall alone will not hold a cat's weight safely over time.
Use a stud finder to locate studs and mark them with painter's tape. Standard stud spacing is 16 inches, but older homes may vary.
If your stud locations don't line up with your planned shelf positions, adjust your layout or use heavy-duty wall anchors rated for at least three times your cat's weight.
Materials and Tools You'll Need
Best Wood for Cat Shelves
Pine and poplar are affordable, lightweight, and easy to cut. They're great choices for first-time builders.
For a more finished look, use oak or maple — they're denser and take paint or stain beautifully. Plywood works well for larger platforms and hideaway boxes.
Avoid MDF for any shelf your cat will jump on. It's heavy and can sag under repeated impact over time.
Surface Coverings for Grip and Comfort
Bare wood can be slippery, especially for older cats. Always cover shelves with carpet, sisal rope, faux fur, or non-slip cork.
Carpet remnants are cheap and easy to staple-gun onto shelves. Sisal adds a scratching surface, which many cats love on the side panels of shelves.
For something more stylish, pick a fabric that matches your room — just make sure it has a grip texture and can be removed for washing.
Hardware and Tools
You'll need L-brackets, wood screws, a drill, a level, a stud finder, sandpaper, and a tape measure at minimum.
Heavy-duty L-brackets (the kind rated for 50+ lbs each) are essential for safety. Use at least two per shelf, anchored directly into studs.
Recommended Products
How to Build Your Cat Wall Step by Step
Step 1 — Cut and Sand Your Shelves
Cut your boards to the planned sizes using a circular saw or ask your hardware store to cut them for you. Most stores will do this for free or a small fee.
Sand all edges smooth with 120-grit sandpaper, then finish with 220-grit. Rough edges can snag fur or scratch your cat's paws.
If you're painting or staining, do it before attaching your surface covering. Let everything dry fully — at least 24 hours.
Step 2 — Attach the Surface Covering
Lay your carpet, sisal, or faux fur face-down on a clean surface. Place the shelf on top and cut the fabric 2–3 inches larger on each side.
Pull the fabric tight across the shelf and staple it to the underside every 2–3 inches. Use a staple gun with 3/8-inch staples for a firm hold.
Fold corners neatly like you're wrapping a gift — this prevents lumps and keeps the edges clean.
Step 3 — Mount the Brackets and Shelves
Hold your first bracket against the wall at the planned height and use a level to make sure it's straight. Mark the screw holes with a pencil.
Drill pilot holes into the stud, then screw the bracket in place. Repeat for the second bracket on the same shelf — use your level again to confirm both brackets are at equal height.
Slide the shelf onto the brackets and secure it with screws through the bracket holes into the underside of the shelf. Give it a firm push to test stability before moving on.
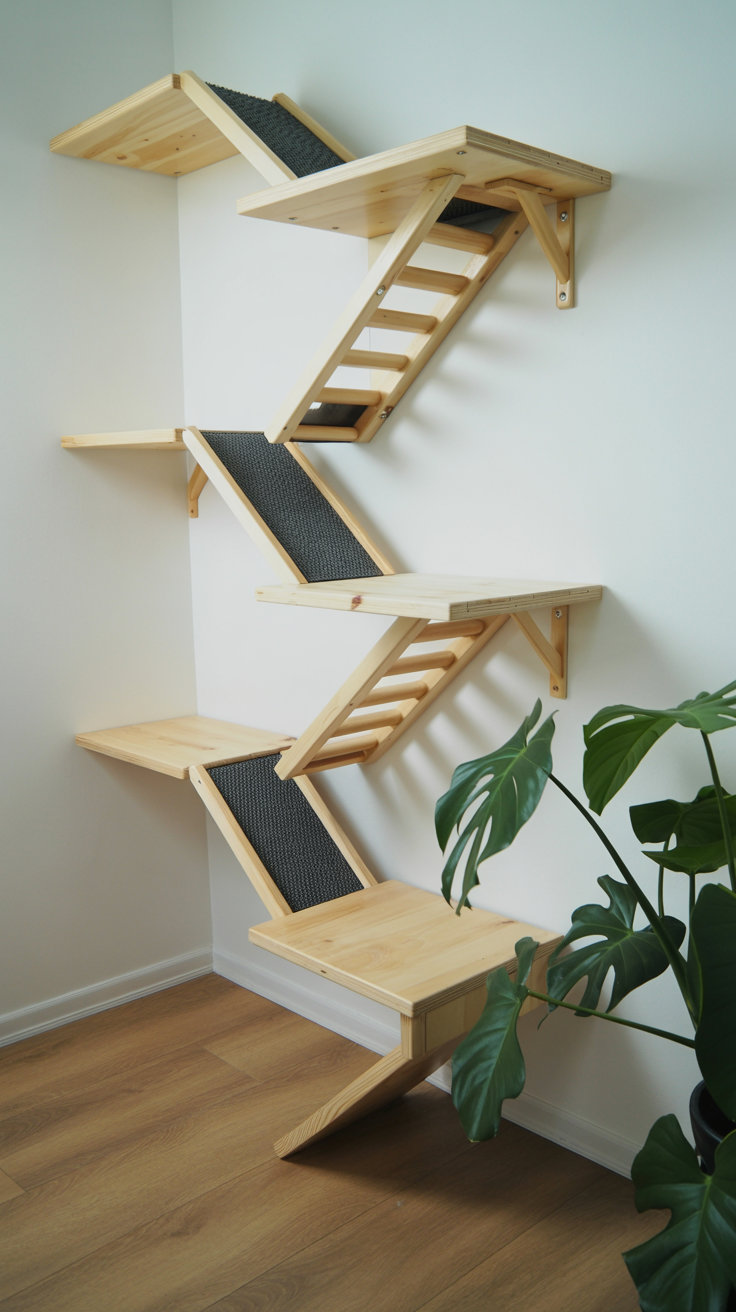
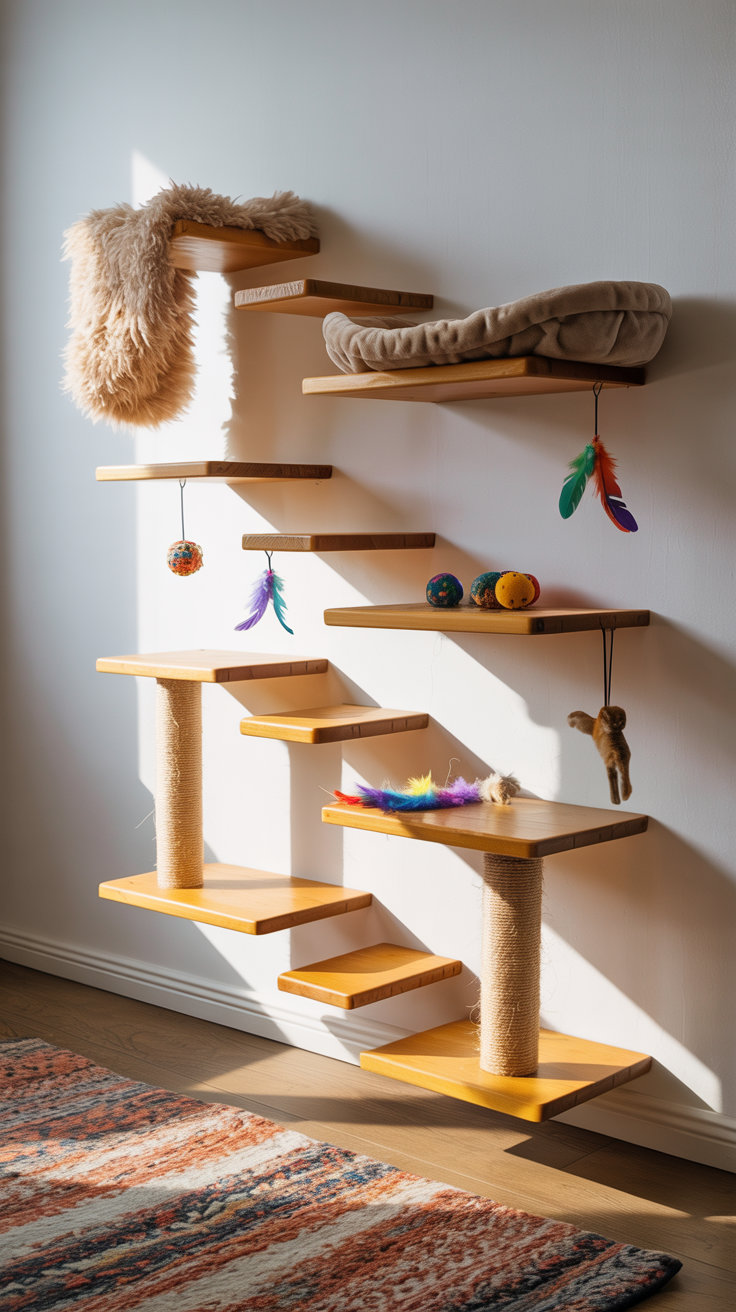
Step 4 — Add Bridges, Ramps, and Extras
Rope bridges and wooden walkways between shelves keep the circuit interesting and help cats move across the wall, not just up and down.
A ramp made from a carpeted board at a 30–40 degree angle is perfect for multi-cat homes where you want every cat to have easy access.
Add a cozy hideaway box at one of the upper levels — cats love a dark enclosed space to retreat to. You can build a simple box from plywood and mount it directly to the wall.
Safety Tips for Your DIY Cat Wall
Weight Limits and Load Testing
Before your cat uses the wall, press down firmly on each shelf with both hands. It should not flex, creak, or shift at all.
The average cat weighs 8–10 lbs, but factor in the impact of jumping — that can briefly multiply the force. Aim for brackets rated at a minimum of 50 lbs per shelf.
If anything feels loose after load testing, remove the shelf and re-anchor the bracket deeper into the stud before proceeding.
Edge Safety and Sharp Corners
Round off sharp shelf corners with sandpaper or a router. Cats move fast and can clip a corner at speed.
Make sure no screws are poking through the surface of any shelf. Sand any raised screw heads flush, or use countersink bits to recess them before covering.
Check all rope elements — bridges, swings, hanging toys — monthly for fraying or loose knots. Replace them immediately if you see wear.
Cat-Proofing the Surrounding Area
Place a soft rug or mat at the base of the wall in case of an awkward landing. This is especially important for kittens learning the layout.
Keep the area beneath the wall clear of hard furniture with sharp edges. A fall from a high shelf onto a coffee table corner can cause serious injury.
For more on keeping your home safe for your pet, read 10 Effective Tips on How to Keep Cats Away from Christmas Trees on creating a cat-friendly living space your whole family will love.
Design Ideas to Inspire Your Build
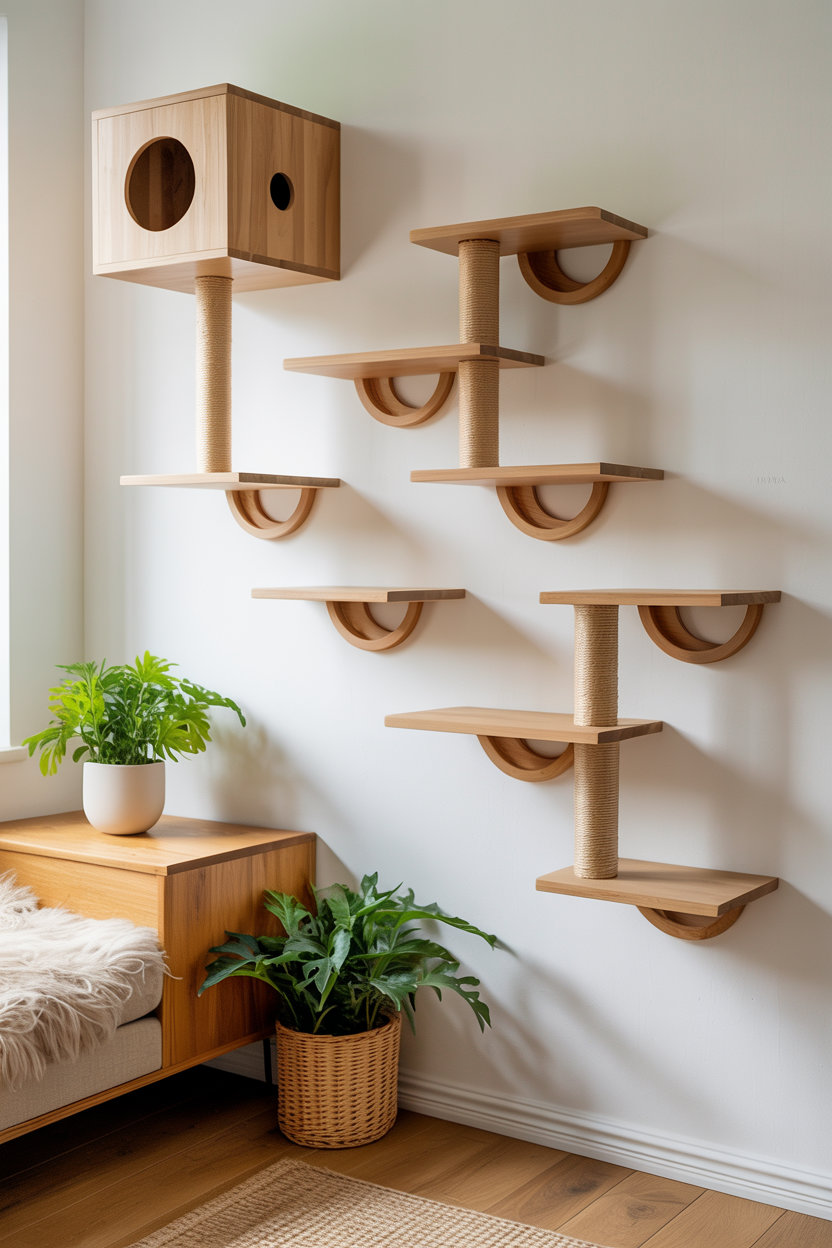
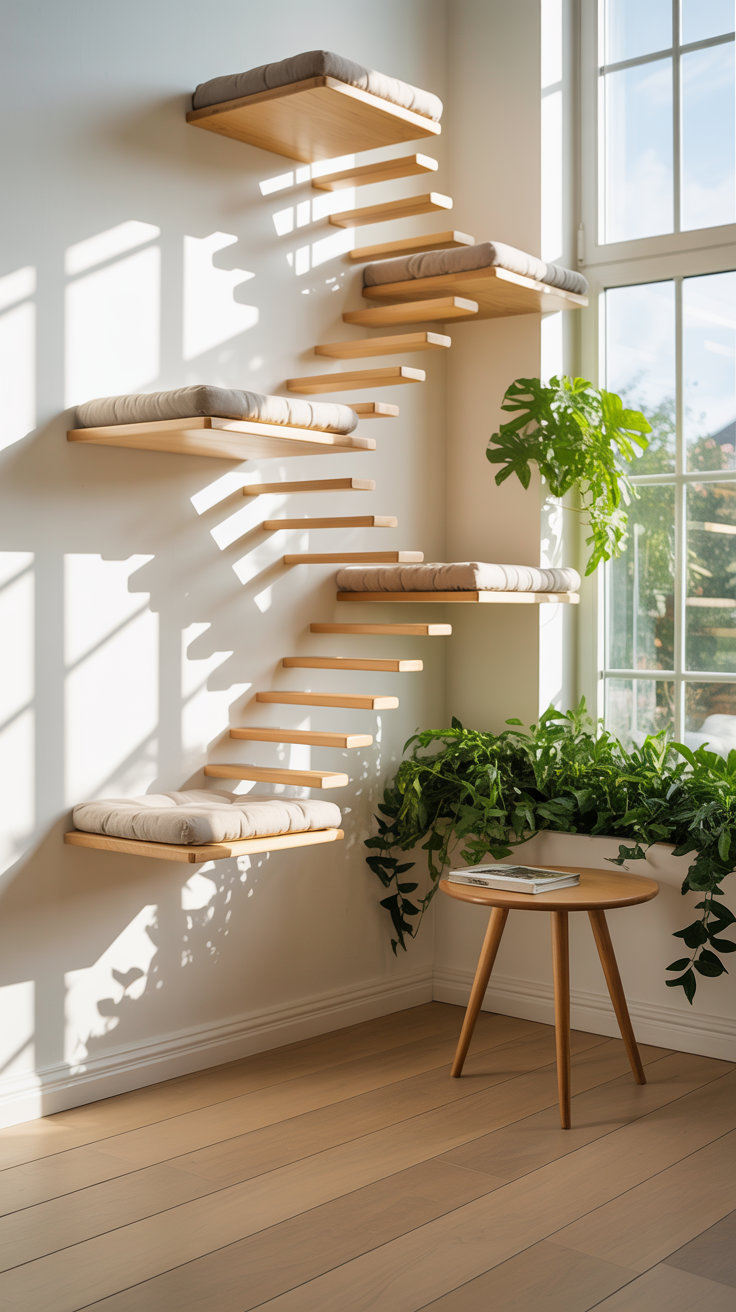
Minimalist Floating Shelf Style
A simple row of staggered floating shelves in matching wood tones looks sleek and modern. Paint them the same color as your wall for an almost invisible look.
This style works well in living rooms and home offices where you want the wall to look intentional, not like a cat playroom.
Stick to three to five shelves in a zigzag pattern with a hammock at the top for a clean, stylish setup.
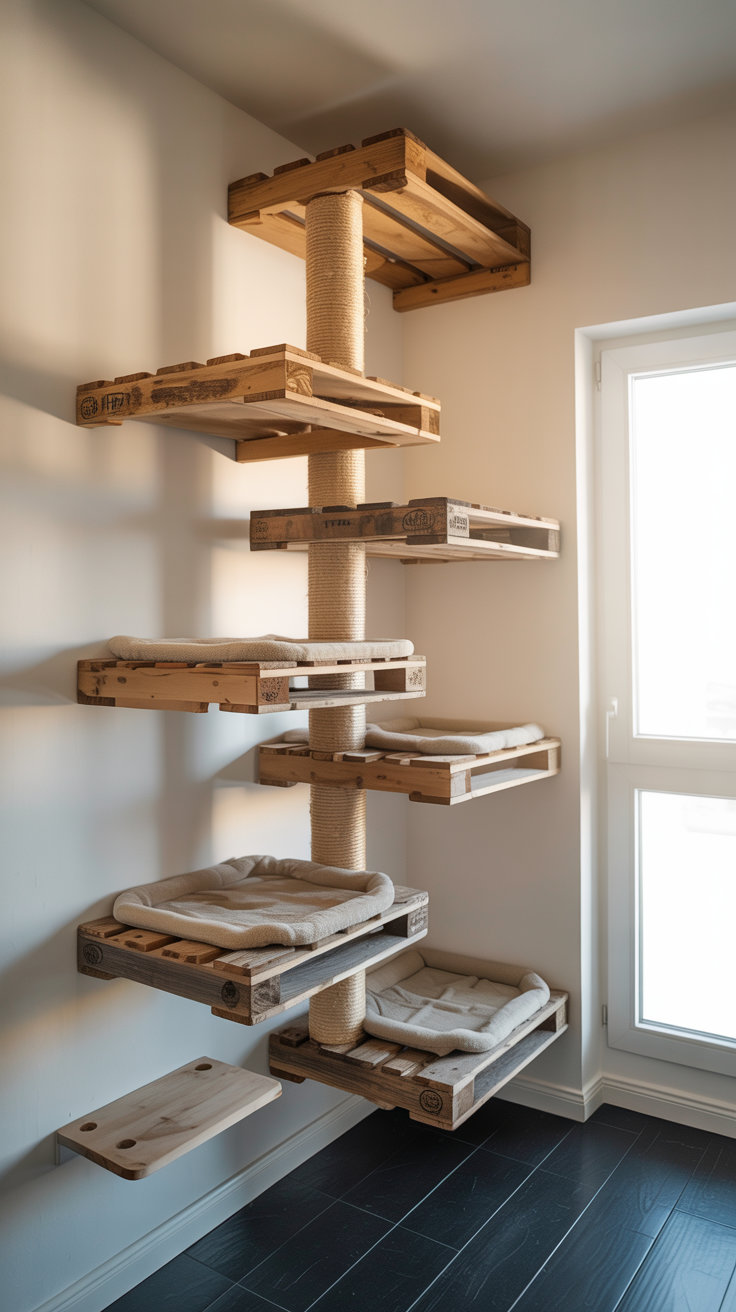
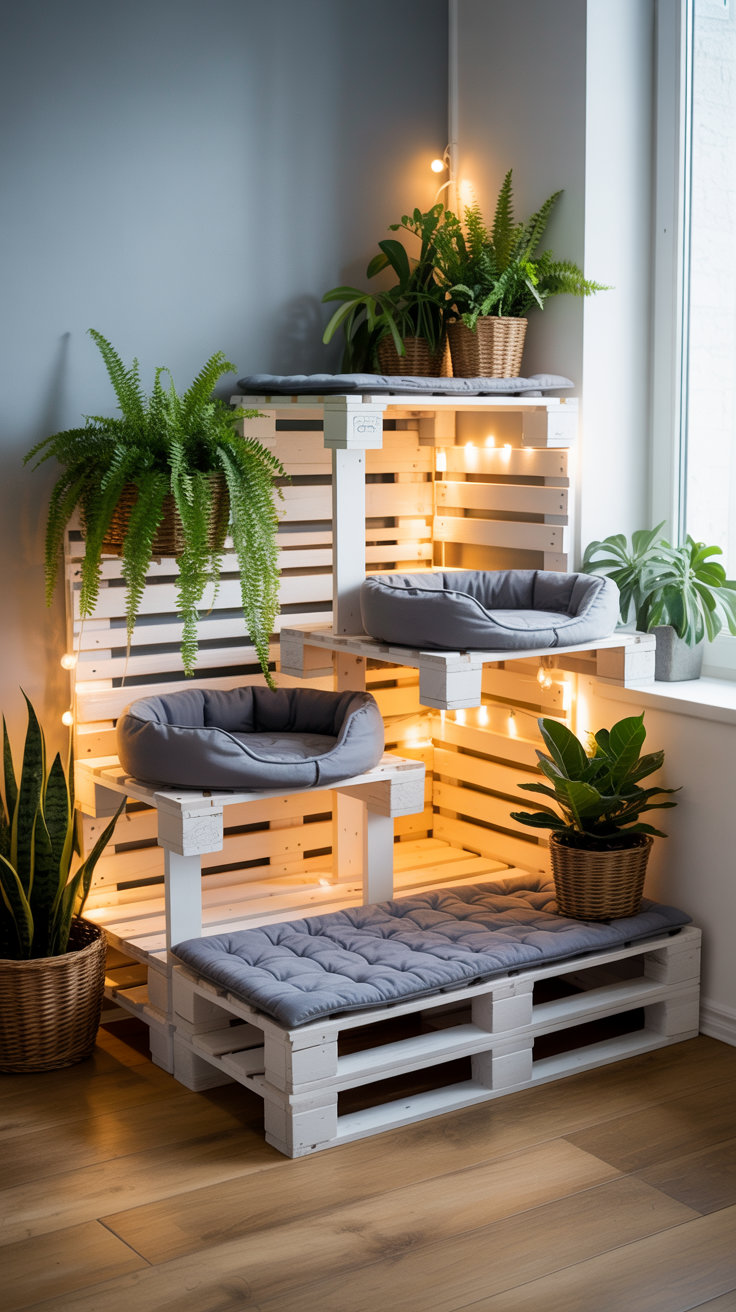
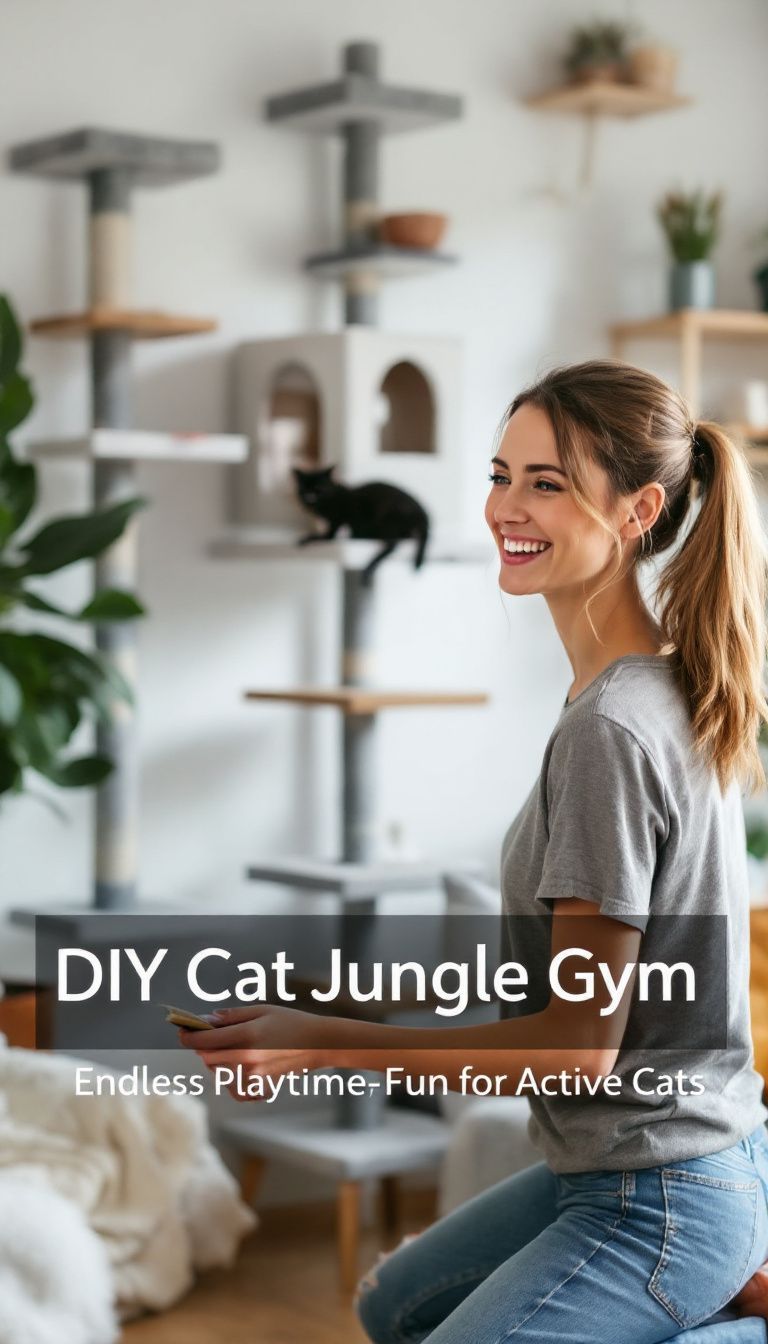
Full Jungle Gym Style
Go all out with a mix of shelves, tunnels, rope bridges, and a large sisal-covered perch at the peak. This is ideal for multi-cat households.
Use different surface textures on each level — carpet, sisal, and faux fur — to give your cats variety and more reasons to explore.
Paint the wall behind the cat wall in a bold accent color to make the whole feature a design statement in your home.
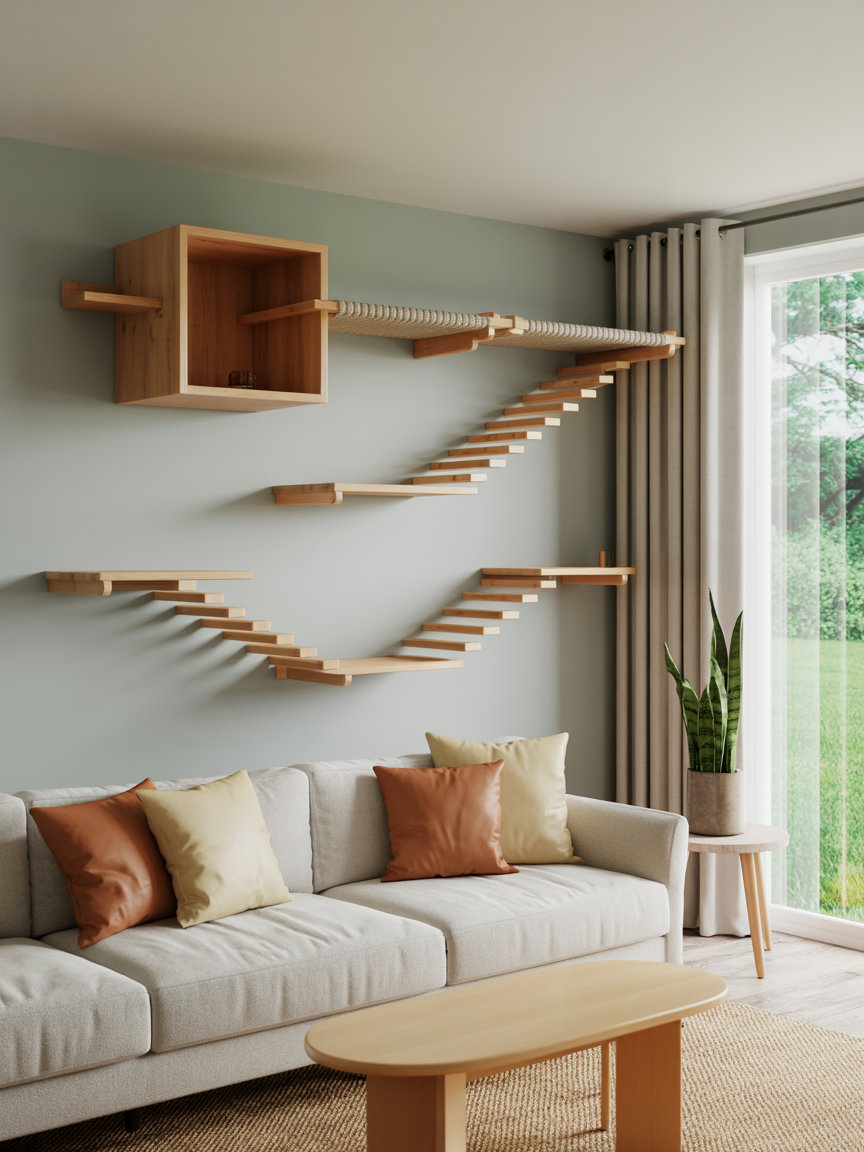
Window-Integrated Layout
Position shelves so they lead up to and around a window. Cats are obsessed with watching the outside world, and a window perch at the end of a climbing circuit is hugely rewarding for them.
A wide shelf installed directly in front of the window makes a perfect bird-watching spot. Add a bird feeder outside the window to maximize the entertainment value.
This layout also means your cat gets natural sunlight exposure, which supports their mood and sleep cycle. For more on feline wellness, see Ultimate Guide To Cat-Friendly Christmas Tree Ideas about how sunlight and enrichment affect your cat's health.
Frequently Asked Questions
How high should cat wall shelves be from the floor?
Your lowest shelf should be reachable from the floor or from an existing piece of furniture — usually around 2–3 feet up. The highest shelf can go as high as you like, as long as there's a safe route up and a soft landing area below.
What is the best wood thickness for cat wall shelves?
Use boards that are at least 3/4 inch thick. Thinner boards can flex or crack under repeated jumping impact. For shelves wider than 18 inches, go with 1-inch thick lumber for extra rigidity.
Can I build a cat wall without finding studs?
You can use toggle bolts or heavy-duty drywall anchors rated for 50+ lbs per anchor as an alternative. However, stud mounting is always the safest option — especially for cats that jump hard from the shelves. If in doubt, adjust your layout to hit the studs.
How wide should cat wall shelves be?
A minimum of 10 inches wide gives most cats enough room to sit comfortably. Aim for 12–16 inches for a relaxed perching spot. If you want your cat to fully stretch out, go 18–24 inches wide on at least one or two shelves.
How do I get my cat to use the wall?
Start by placing treats or kibble on the lower shelves to encourage exploration. Use a wand toy to lure your cat up each level. Most cats need a few days to build confidence — never force them. Once they realize the top perch has the best view, they'll be up there on their own.
A DIY cat wall is one of the most rewarding projects you can do for your indoor cat. It costs less than store-bought systems, fits your exact space, and gives your cat a daily outlet for natural climbing instincts. Take your time with the planning, build it solid, and your cat will thank you with years of happy climbing.
This website contains affiliate links. As an Amazon Associate and an affiliate for other programs, I earn from qualifying purchases. Clicking on an affiliate link may result in a commission being paid to me at no additional cost to you.


Leave a Reply