A DIY cat wall scratcher saves you money and gives your cat a scratching spot they'll actually use. You can build one in an afternoon with basic tools and materials. The best part? You can customize the size, shape, and placement to fit your home perfectly.
- Key Takeaway 1: Wall-mounted scratchers save floor space and are more durable than freestanding posts.
- Key Takeaway 2: Sisal rope and sisal fabric are the best materials for DIY cat scratchers — cats prefer them over carpet.
- Key Takeaway 3: You can build a basic wall scratcher for under $20 with supplies from a hardware store.
- Key Takeaway 4: Placement matters — mount scratchers near furniture your cat already scratches to redirect the behavior.
- Key Takeaway 5: Always anchor wall scratchers into studs or use heavy-duty wall anchors to keep them safe and secure.
Why a Wall-Mounted Cat Scratcher Is Worth Building
The Problem With Floor Scratchers
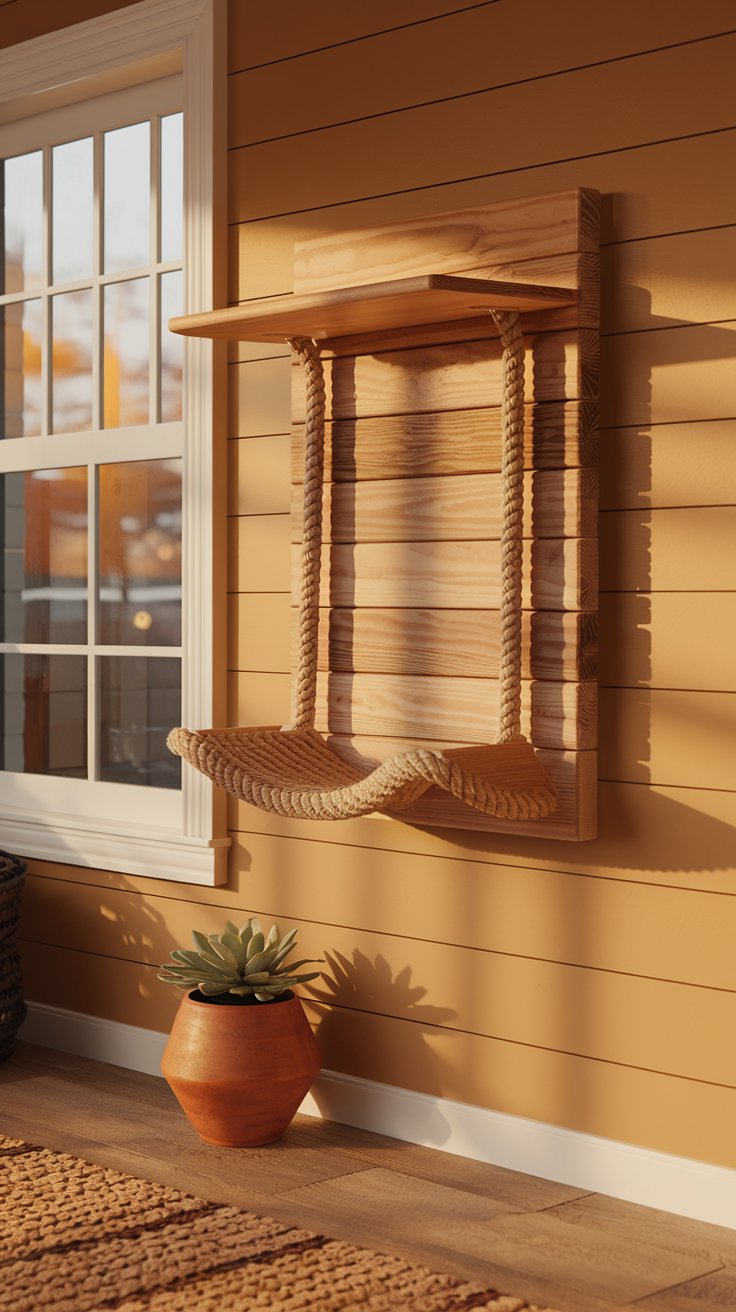
Most freestanding cat scratching posts tip over, slide across the floor, or get knocked down during a good scratch session. Cats lose interest fast when a scratcher wobbles. A wall-mounted scratcher stays put, which encourages your cat to use it consistently.
Floor scratchers also eat up valuable space in smaller homes and apartments. Mounting a scratcher on the wall keeps your floor clear. It also looks a lot cleaner and more intentional as part of your home decor.
Benefits of Going DIY
Store-bought wall scratchers can cost $40–$100 or more, especially if you want something sturdy. A DIY version made from a wood plank and sisal rope costs less than $20. You also get to control the exact size and finish so it blends into your home.
Building it yourself also means you can replace worn-out sisal without throwing the whole piece away. Just unwrap and re-wrap. This makes a DIY wall scratcher one of the most sustainable cat accessories you can own.
What Cats Actually Want in a Scratcher
Cats scratch for several reasons: to stretch their muscles, shed dead nail sheaths, and mark territory. They prefer surfaces with some resistance and texture. Rough, fibrous materials like sisal, cork, or cardboard work best.
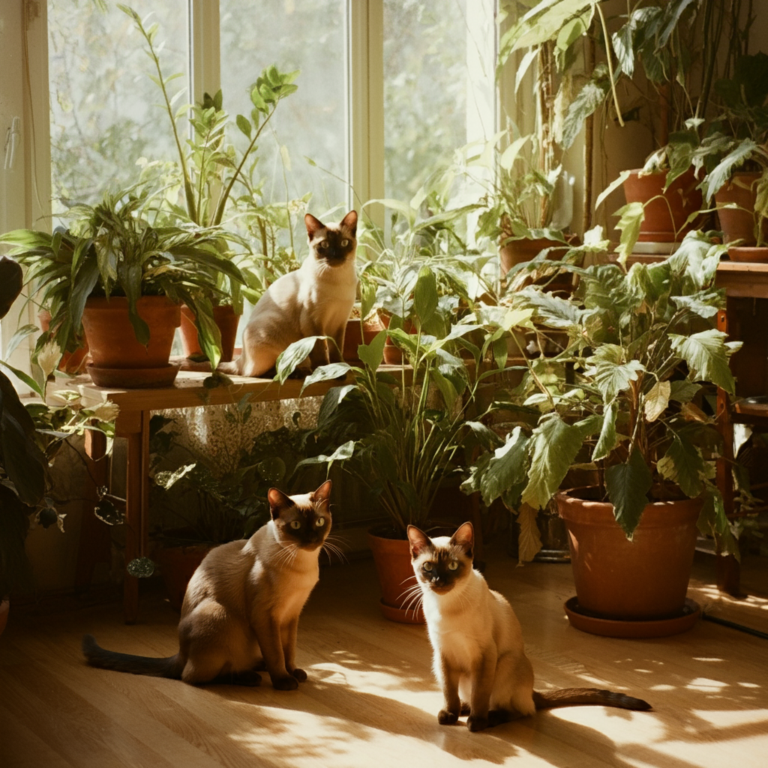
Cats also like to scratch in a fully stretched position. Your scratcher should be at least 18–24 inches tall so your cat can reach up and get a full body stretch. If you have a large cat like a Maine Coon, aim for 30 inches or more — check out Festive Felines: Cats And Christmas Trees for more tips on caring for larger breeds.
Materials You Need for a DIY Cat Wall Scratcher
The Base Board
A solid wood plank is the best foundation for your wall scratcher. A 1×6 or 1×8 pine board cut to 24 inches works well for most cats. You can find these at any hardware store for a few dollars.
Sand the edges smooth, so there are no splinters. You can stain or paint the visible ends to match your furniture. Raw, untreated pine is completely safe for cats.
Sisal Rope vs. Sisal Fabric
Sisal rope (3/8 inch diameter) is the most popular choice. It wraps tightly around the board and creates a texture cats love. A 50-foot roll costs around $8–$12 and is usually enough for one scratcher.
Sisal fabric is another option — it covers the board faster and gives a flatter surface. Some cats prefer the fabric texture, while others prefer the raised texture of rope. You can try both and see what your cat responds to.
Avoid carpet as a covering material. It can encourage your cat to scratch your actual carpet. Stick with sisal, jute, or cork for the best results — you can read more in our guide on 10 Effective Tips on How to Keep Cats Away from Christmas Trees.
Tools and Hardware
You won't need much. Here's a simple list of what to gather before you start:
- Wood plank (1×6 or 1×8, cut to your desired length)
- Sisal rope or sisal fabric (at least 50 feet of rope)
- Hot glue gun and glue sticks
- Staple gun with staples
- Wall screws (2.5–3 inch wood screws)
- Stud finder
- Sandpaper (120 grit)
- Drill and drill bits
- Keyhole brackets or French cleat (optional but recommended)
Keyhole brackets make the scratcher easy to remove and reattach without damaging the wall. A French cleat system works even better if you plan to build multiple panels.
Step-by-Step Instructions to Build Your DIY Cat Wall Scratcher

Step 1: Prepare the Board
Cut your board to your desired length if it isn't already cut. Sand all surfaces and edges until smooth. If you want to stain the wood, do it now before you add sisal.
Pre-drill two mounting holes at the top and bottom of the board, centered. This will make mounting much easier later. Space them based on your wall stud positions — usually 16 inches apart.
Step 2: Wrap the Sisal Rope
Start at the bottom edge of the board. Apply a line of hot glue and press the end of the sisal rope firmly into it. Hold it for 10 seconds until set.
Wrap the rope tightly around the board, keeping rows close together with no gaps. Use the hot glue every 6–8 inches to secure the rope in place. When you reach the top, glue the end down firmly and staple it as extra reinforcement.
The tighter the wrapping, the more durable your scratcher will be. Loose wraps will unravel quickly once your cat digs in. Take your time on this step — it makes a big difference.
Step 3: Mount It on the Wall
Use a stud finder to locate wall studs. Drive your screws directly into studs for maximum stability. If you can't hit a stud, use heavy-duty drywall anchors rated for at least 30–50 lbs.
Mount the board at a height where your cat can reach up and fully stretch. For most cats, the bottom of the scratcher should be about 6–8 inches from the floor. This allows a full stretch to the top of the panel.
Once mounted, give the scratcher a firm tug in every direction before letting your cat near it. It should not budge at all. Safety is non-negotiable here.
Creative DIY Cat Wall Scratcher Ideas and Upgrades
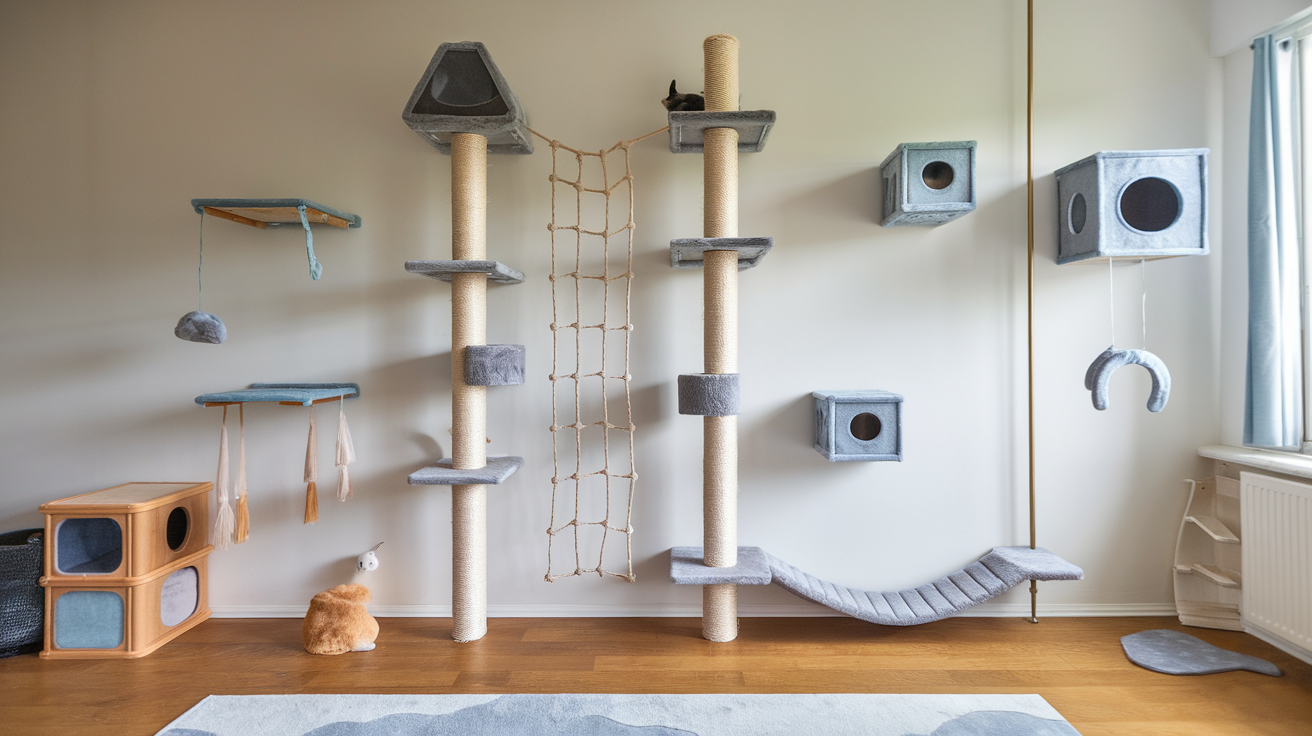
Build a Multi-Panel Scratcher Wall
Instead of one board, build several panels at different heights and arrange them in a pattern on the wall. This creates a visual feature in your room and gives your cat more options. You can even alternate sisal rope and sisal fabric panels for variety.
Use a French cleat system along the wall to make panels interchangeable and easy to swap out. This is a great approach if you want to build a full cat activity wall. Add shelves, perches, or tunnels to the mix over time.
Add a Cardboard Insert
Some cats go crazy for corrugated cardboard. You can create a reversible scratcher by attaching a cardboard insert to one side of your panel. When one side wears out, flip it over.
Use thick, double-corrugated cardboard for the insert. Cut it to size and secure it with strong double-sided tape or a few small screws through the back. Cardboard inserts are cheap and easy to replace.
Hang a Scratcher on the Back of a Door
Don't have wall space? The back of a door is an often-overlooked scratching spot. Mount a slim sisal panel on the back of a closet or bedroom door using over-door hooks and a top plank with notches.
This keeps the scratcher completely hidden when the door is open. It also protects the actual door from scratch damage. It's a smart solution for small apartments — for more small-space ideas, see Ultimate Guide To Cat-Friendly Christmas Tree Ideas.
How to Get Your Cat to Actually Use It
Placement Is Everything
Cats scratch in specific spots for a reason — usually near where they sleep or where they feel territorial. Place your new scratcher near your cat's bed, a window, or next to the furniture they've been scratching.
Don't hide it in a back room. Cats scratch in visible, communal spaces. If your cat sleeps on your couch and scratches the armrest, put the scratcher right next to that spot first.
Use Catnip and Positive Reinforcement
Rub dried catnip directly onto the sisal surface to attract your cat. Most cats will investigate immediately. When your cat scratches the new panel, reward them with praise or a treat right away.
Never punish your cat for scratching the wrong surface. Instead, gently redirect them to the wall scratcher and reward the correct behavior. Consistency over a few days is usually all it takes.
Gradually Move It to Your Preferred Spot
Once your cat is consistently using the new scratcher, you can slowly move it to your preferred location. Move it just a few inches per day so your cat barely notices. Sudden relocation often causes cats to lose interest entirely.
This slow-moving method works with most cats within one to two weeks. Patience pays off here. Rushing the process is the most common reason cats abandon a new scratcher.
Frequently Asked Questions

What is the best material for a DIY cat wall scratcher?
Sisal rope or sisal fabric is the best choice. Cats strongly prefer sisal because of its rough, fibrous texture that mimics tree bark. Avoid carpet, as it can teach cats to scratch your actual carpet or rugs.
How do I keep sisal rope from unraveling on my homemade scratcher?
Use a combination of hot glue and staples at both ends of the rope. Apply hot glue every 6–8 inches along the length as you wrap. Pulling the rope tightly as you wrap is also key — loose wrapping unravels much faster.
How high should I mount a wall cat scratcher?
Mount the scratcher so the bottom edge sits about 6–8 inches from the floor. This lets your cat stand and reach up to the top for a full body stretch. For larger cats, you may need to mount it lower or use a longer panel.
Can I make a DIY cat wall scratcher without drilling into the wall?
Yes, you have a few options. You can use over-door hooks to hang a scratcher on the back of a door. Heavy-duty adhesive strips rated for 30+ lbs also work on smooth walls, though they're less secure than screws. A leaning scratcher design — propped against the baseboard — is another no-drill option.
How long does a sisal rope cat scratcher last?
A well-wrapped sisal rope scratcher typically lasts 6–12 months with daily use. The great thing about a DIY version is that you can re-wrap the board with new sisal when it wears out. This costs about $8–$12 and takes less than an hour.
Final Thoughts
A DIY cat wall scratcher is one of the most practical and affordable cat projects you can tackle. It protects your furniture, gives your cat an outlet for natural behavior, and takes up zero floor space. With the right materials and about an hour of your time, you'll have something that outlasts anything from a big-box pet store.
This website contains affiliate links. As an Amazon Associate and an affiliate for other programs, I earn from qualifying purchases. Clicking on an affiliate link may result in a commission being paid to me at no additional cost to you.


Leave a Reply