If you're trying to keep your cat entertained but don't have room for a big cat tree, you're not alone. With my three British Shorthairs in a snug space, I had to get creative. That's when I stumbled upon the idea of making a DIY cat climbing wall.
Dedicated one weekend to this project and it was a game changer. We gathered some Ikea shelf carriers, oak panels, MDF boards, and sisal rope among other supplies. This guide is set up to help you build an awesome cat wall climber with ease, perfect for first-timers in DIY projects.
Let’s craft something amazing for our feline pals!
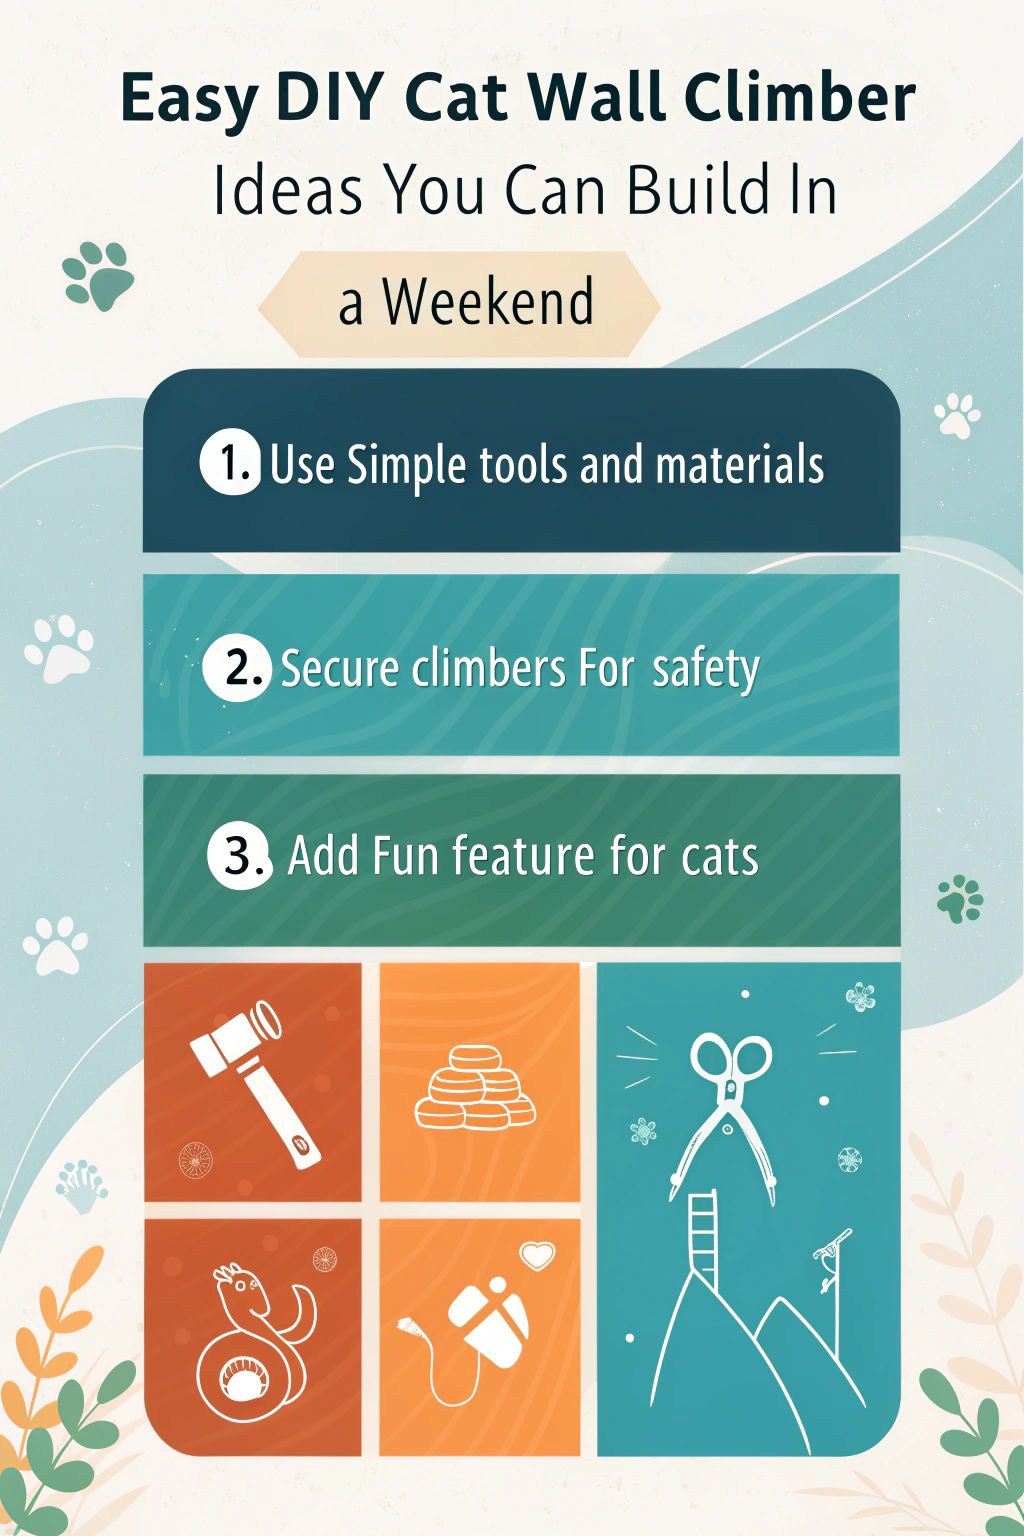
Key Takeaways
- You can build a cat wall climber with simple tools and materials like wood, screws, brackets, and fabric.
- Make sure to secure the climbers well to keep your cats safe. Use heavy-duty anchors or find wall studs.
- Adding fun features like hammocks and hiding spots makes the climber more enjoyable for cats.
- Place the climber in a spot your cat loves, and use toys or catnip to encourage them to climb.
- Checking for stability and choosing safe materials are important for your cat's safety.
Essential Materials and Tools Needed

Getting ready to build a cat wall climber? You'll need some basic materials and tools. Wood, screws, brackets, and carpet or fabric for upholstery are must-haves. For tools, make sure you have:
With these in hand, you're all set to start your project.
List of materials

I need some materials before I start building a cat wall climber. Here's what I'll use:
- Ikea Ekby Valter shelf brackets – they hold up to 10kg each, perfect for cat shelves.
- CanDo solid oak panels in 20cm and 30cm widths – these make strong bases.
- MDF plates – these will form the body of some climbing sections.
- White primer – to prep the wood for painting.
- Flexa paint 9010 – a bright white that will make the climber look clean and modern.
- 8mm sisal rope – it's great for wrapping around sections to let my cat scratch and climb more easily.
- Small wooden slats (Dunne latjes) – useful for creating barriers or edges on the shelves.
- Screws and wall plugs – essential for fixing everything securely to the wall.
- Spruce planks – another option for creating shelves or platforms.
- Fabric and foam – for making soft hammocks or resting spots on the climber.
These items will help me build a safe and fun cat climber over the weekend.
Required tools

Building a cat wall climber is fun. It can make your home more interesting for your feline friend. Here are the tools I recommend.
- Screwdriver and Drill
Use this to drive screws into wood. A drill makes it faster and easier.
- Wood Saw
This helps cut wooden pieces to the right size. Make sure to choose one that feels comfortable.
- Paint Brushes
If you want to add color, these will help apply paint smoothly. Pick brushes that suit your project.
- Digital Detector
Use this tool to find studs in the wall. It helps keep the climber safe and secure.
With these tools, building a climbing wall for your cat can be easy and enjoyable!
Step-by-Step Guide to Building a Basic Cat Climbing Wall

Building a basic cat climbing wall is fun and easy. Start by measuring your space—then mark where you want the shelves. Cut wooden boards to size, then secure them to the wall using brackets or screws.
Make sure they are steady, so your cats can feel safe clambering around… You’ll see how much joy this brings to your furry friends!
Instructions for constructing a simple wall

I built a simple cat climbing wall to save space and give my cats a fun place to play. Here’s how you can do it, step by step.
- Gather Materials: You’ll need plywood, sisal rope, screws, brackets, and carpet scraps for grip. These materials help create safe steps for your cats.
- Select the Wall Space: Find a sturdy wall in the living room. Make sure it is free of electrical wires or plumbing behind it to avoid any accidents.
- Measure and Mark: Measure where each step will go on the wall. Mark drill spots wisely—your design should be about 24 inches apart for tall cats.
- Cut the Wood: Cut your plywood into uniform squares or rectangles for steps. Each step should be at least 12 inches wide to give your cat enough space.
- Attach Sisal Rope: Wrap sisal rope around each step for scratching and climbing grip. Secure it with glue, making sure it’s tight.
- Drill Holes: Drill holes into every marked spot on the wall where you want to attach each step securely.
- Install Steps: Use brackets to attach each plywood step to the wall carefully. Use multiple screws per step to hold up to 25 kg safely.
- Add Carpet Scraps: Glue carpet scraps onto each step as an extra grip surface—it helps my cats feel secure while climbing.
- Check Stability: After all pieces are attached, double-check that everything feels strong and steady before letting your cats use it.
- Personalize It: You might add floating shelves or other fun ideas like hammocks as your cat furniture grows!
Following these steps has been very rewarding for me—and my cats love their new climbing space!
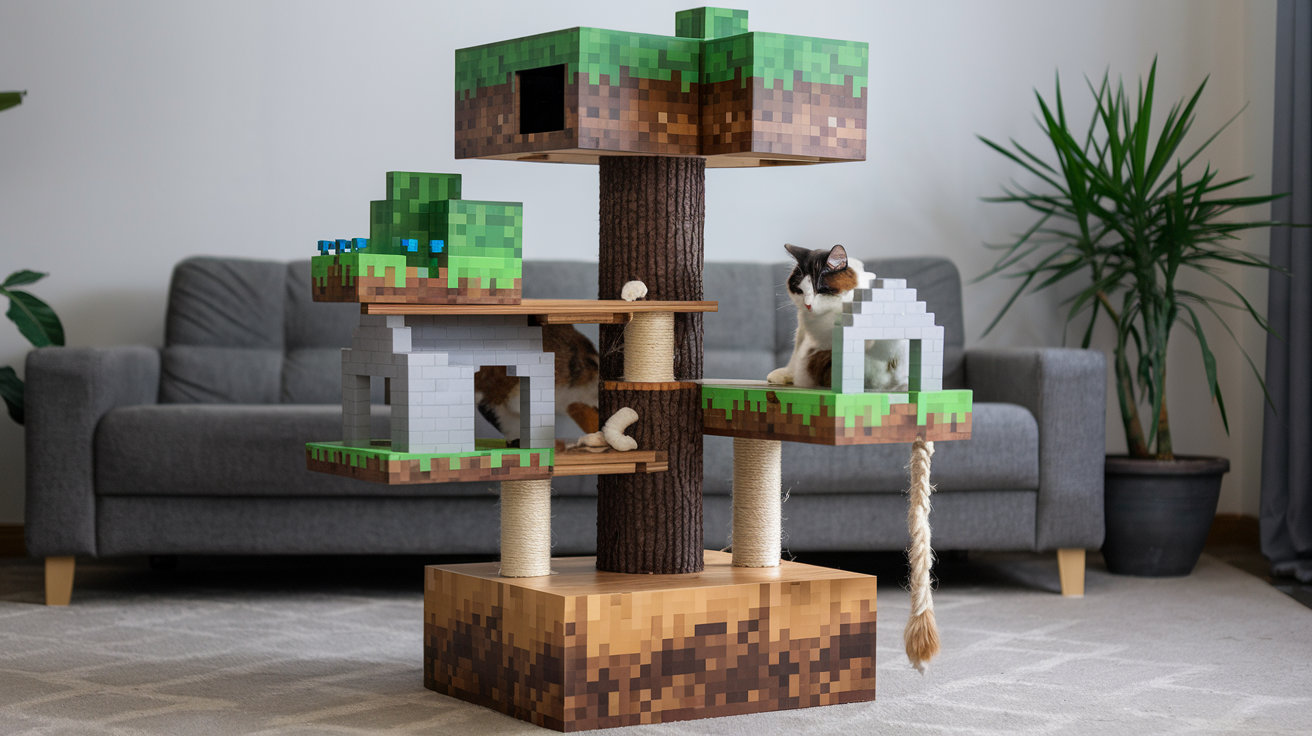
Creative Ideas for Cat Wall Climbers

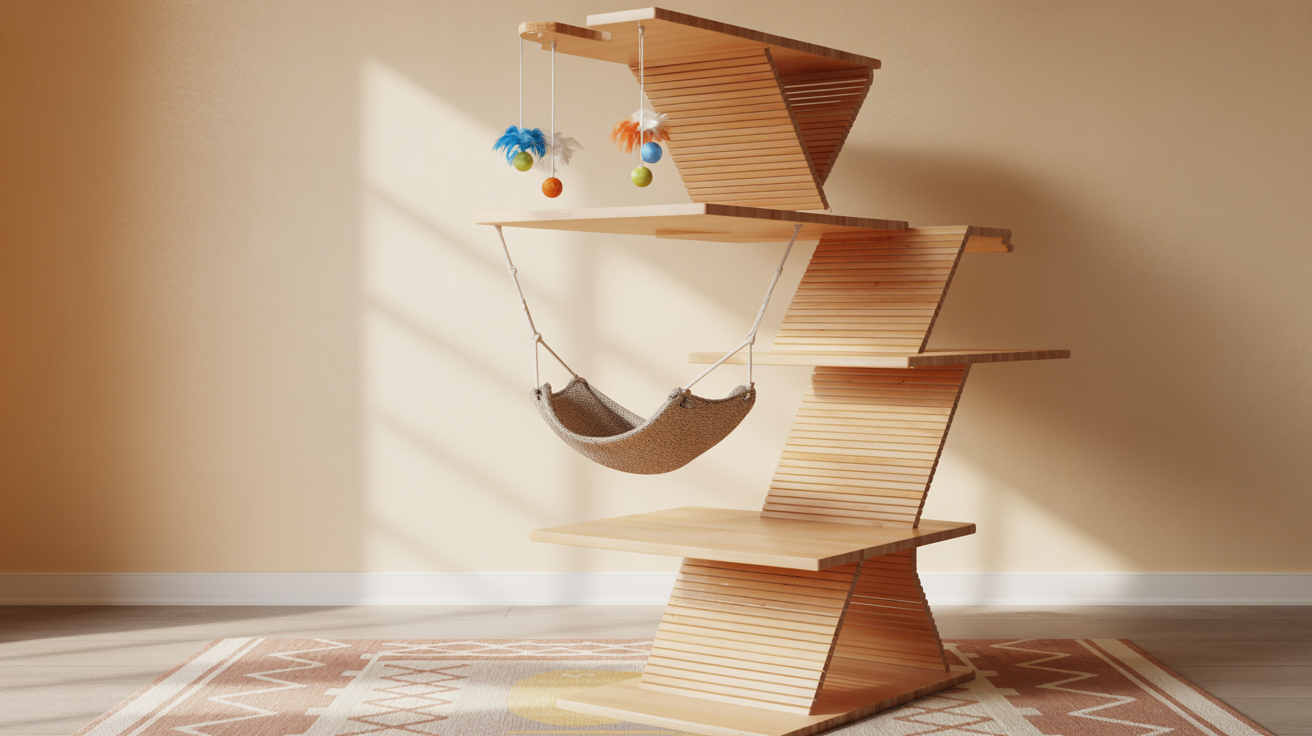
Cats love to climb and explore. Adding hammocks or cozy spots can make your wall even better. You might choose sleek floating shelves for a chic look too… There are many fun ways to create a space your cat will adore! Want more ideas? Keep reading!
Incorporating hammocks and hiding spots
Hammocks add comfort to cat climbing walls. They give cats a cozy place to lounge. I love using wooden ramps to hang these hammocks. It helps connect different levels in the structure too.
Hiding spots keep my cats feeling safe and secure. By placing shelves or platforms at various heights, I create fun nooks for them. These spots encourage exploration while making my feline friends feel hidden away from the world.
My cats really enjoy their floating cat shelves and they use those as great lookout points!
Using floating shelves for a modern look
I love using floating shelves for a modern look in my home. They add style and function at the same time. These shelves give my cat space to climb and explore. I can arrange them at different heights, creating dynamic spots for play.
Floating shelves fit well with any decor. They blend into walls and keep floors clear. This makes my living area feel more open. Plus, they are easy to install, allowing me to design a creative climbing wall for my feline friend!
Safety Considerations for DIY Cat Wall Climbers

Make sure your cat wall climber is stable. Use strong materials to avoid accidents. Check that all pieces are securely attached, and keep an eye on how it holds up over time… Safety matters for happy cats! Want more tips? Keep reading!
Ensuring stability and durability
Stability is key for any cat wall climber. I use heavy-duty anchors or wall studs to secure the shelves. This keeps them safe and strong, even when my cats jump around. I make sure the climbing structures can hold their weight without moving.
Durability comes from choosing the right materials. I prefer sturdy wood or metal over flimsy options. This helps avoid breakage during playtime. Padding is a must too; it creates a soft landing for my cats if they miss a jump.
Always think about your cat's abilities—lower installations work best for clumsier cats who might struggle with higher spots.
Choosing safe materials
Choosing safe materials is key for your cat wall climber. I look for non-toxic options. Wood is a great choice, but I make sure it’s untreated. Cats love to scratch, so I avoid sharp edges and splinters.
For the climbing surfaces, carpet or sisal rope works well. They are soft and comfortable for paws. Upholstered materials can add style too, but they must be pet-safe. I'm careful with glues and paints—only use those labeled as non-toxic.
I check each item before using it in my project. This way, my cat stays happy and healthy while playing on their new home… Safety first! Next up is making sure everything stays secure on the wall.
Tips for Encouraging Cats to Use the Climber

Place the climber in a sunny spot where your cat likes to hang out. Add some catnip or toys on the shelves to make it fun… Cats love exploring new spots! For more ideas, keep reading!
Placement strategies
Strategically placing the cat wall is key. I like to start the designs at a height of 14 inches. This keeps cats safe and comfortable. Space the wall parts about 12 to 18 inches apart.
Adjust this for your cat's size and fitness level.
Think about where my cat likes to hang out. I make sure to put the climber near sunny spots or favorite windows. Cats enjoy climbing high, so I keep that in mind as well. It's also smart to include hiding spots with good visibility for shy cats.
This way, they feel secure while exploring their new space.
Using catnip or toys
Using catnip or toys can make my cats happy and engaged. I often sprinkle a little catnip on their climbing wall. It gets them curious and excited. They love to roll around in it, which makes playtime more fun.
I also use interactive toys like wand-type toys and laser pointers. These keep my cats moving and entertained. Watching them chase a light is always a joy. Self-play toys, such as cardboard boxes or crumpled paper, let them play alone too.
Cats enjoy being independent while having fun with these simple items.
These playful methods help build their confidence on the climbing wall. They explore new heights while enjoying themselves with the right tools and treats. It's all about keeping my feline friends active and happy!
Conclusion

Building a DIY cat wall climber is fun and rewarding. My cats love to explore their new space. It keeps them active and happy. You can create a special area for your furry friends too.
Gather your materials, follow the steps, and let your cats climb!
This website contains affiliate links. As an Amazon Associate and an affiliate for other programs, I earn from qualifying purchases. Clicking on an affiliate link may result in a commission being paid to me at no additional cost to you.

Leave a Reply