Living with cats in a small space can feel like a puzzle. They love to climb, play, and discover every nook, but not all of us have the luxury of extra space. In my own journey to find harmony between my cat's adventurous spirit and the limits of my living quarters, I stumbled upon a game-changing solution: wall-mounted cat trees.
Through research and some fun DIY projects, I discovered that these creative structures are an ideal way for our furry climbers to exercise their natural instincts without crowding the room.
From sleek shelves to cozy hammocks and playful bridges—these setups transform any wall into an exciting adventure playground for your cat. This article is your step-by-step guide on crafting a personalized wall-mounted cat tree.
Let’s get started!
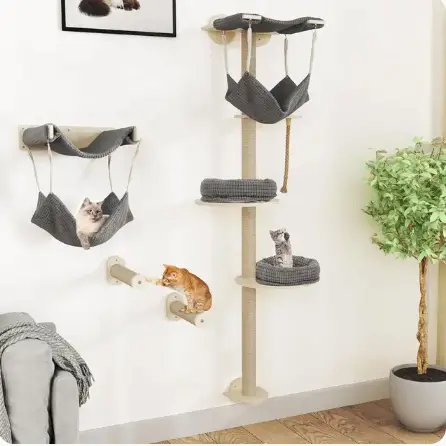
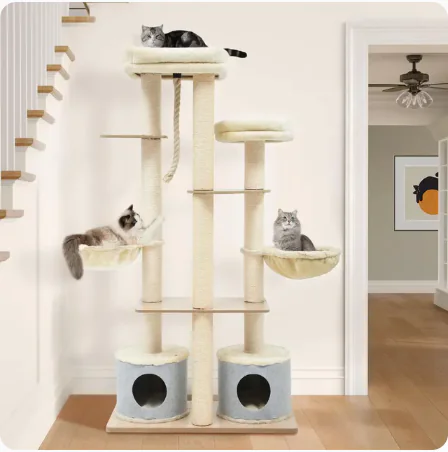
Cat Tree Wall Mounted with Hammock
Key Takeaways
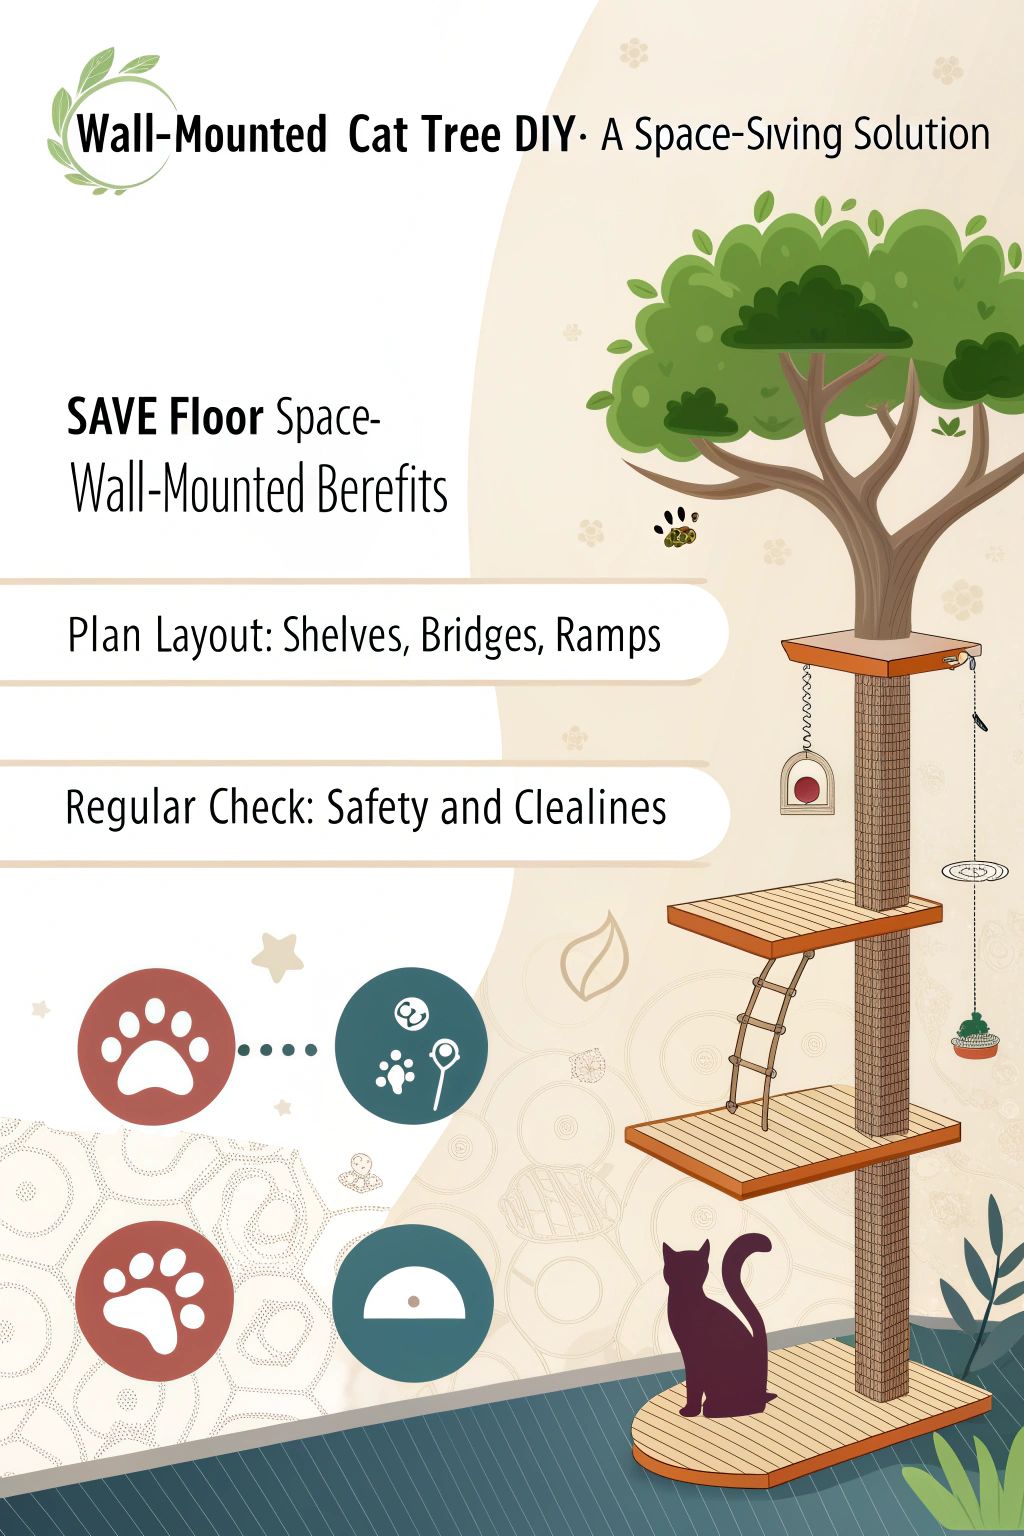
- Wall-mounted cat trees save floor space, making them perfect for small homes. They let cats climb and scratch, keeping them happy.
- To build a wall-mounted cat tree, you will need sturdy wood, brackets, screws, and anchors. Tools like a saw, drill, and stud finder are also important.
- Plan your cat tree layout carefully. Install base shelves with strong brackets first. Add bridges and ramps for more fun spots.
- Check the cat tree often to keep it safe. Look for loose parts and clean regularly to stop germs.
- Cat trees can look good in your home. Use corners or spaces above doors for extra fun places. Add soft hammocks for cozy spots.
Benefits of Wall-Mounted Cat Trees

Wall-mounted cat trees save a lot of space in your house. They give your cat fun places to climb and scratch, fitting right in with your living room or bedroom style.
Space-saving design

I love how a wall-mounted cat tree saves space. My small living room still feels open and airy, thanks to these clever designs. They use vertical space instead of the floor, perfect for my cozy apartment.
It's like giving my cat a deluxe fort without losing precious room space.
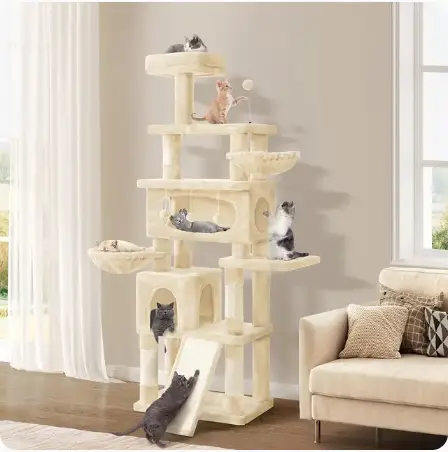
Multi-Level Cat Tower for Large Cats
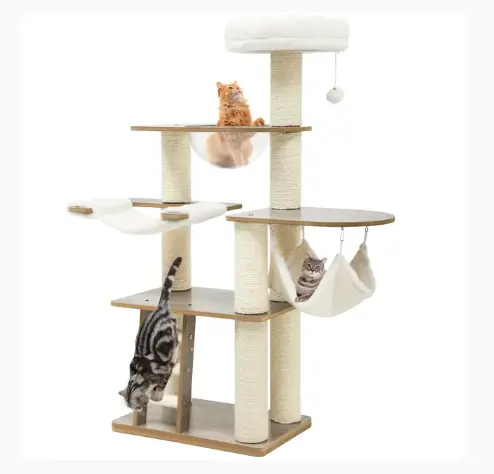
Next, I found that adding cat shelves and hammocks made the tree even better. My cat can jump, climb, and relax high above the ground. This setup keeps her happy and active while blending in with my decor beautifully.
Now let’s talk about what you'll need to make one yourself.
Enhances the cat’s climbing and scratching opportunities

A wall-mounted cat tree really boosts my cat’s climbing and scratching chances. Cats love to climb up high. It gives them a better view of their space, like a little jungle gym at home.
With platforms, bridges, and ramps, they can explore new heights safely.
Scratching is also important for cats. They need it to keep their claws healthy and strong. A wall-mounted setup offers many spots for this natural behavior. My cat uses the shelves as scratch posts too! This encourages him to play and exercise more, which is great for his well-being.
Integrates with home decor

Wall-mounted cat trees fit right in with home decor. They come in many styles and colors. I can customize the parts to match my room's look. Solid wood makes them not just sturdy, but also great to see.
Rounded edges give a smooth look that blends well with other furniture.
Cat Tower Heavy Duty with Condo
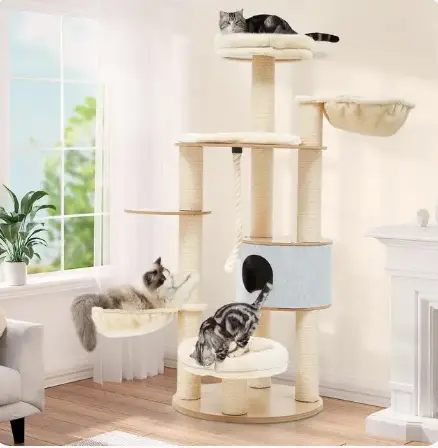
These designs add beauty while offering fun for my cat. My shelves, hammocks, and bridges all work together to create a cozy spot for my pet. This way, I get functional cat furniture that enhances my home’s style at the same time…
It’s like having a mini jungle gym that feels at home!
Essential Tools and Materials

You need the right tools and materials for your wall-mounted cat tree. Grab some sturdy wood, brackets, screws, and anchors to keep everything secure.
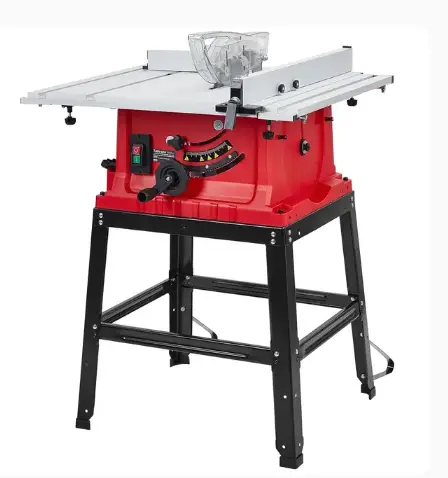
Multifunctional Saw with Stand & Push Stick
Types of wood and brackets
For a wall-mounted cat tree, I prefer using plywood for the platforms. It's strong and can handle my cats jumping around. Solid wood also looks nice and lasts a long time. I like to use scrap wood or leftover pieces from other projects, too.
It saves money and is eco-friendly!
Brackets are key for stability. Metal brackets work well for holding everything together securely. Make sure they can support at least 85 lbs each, especially if you have bigger cats.
Using the right materials keeps my cat jungle gym safe… Now let’s talk about how to plan your layout!
Screws and anchors for wall mounting
I need screws and anchors for wall mounting the cat tree. Proper screws are key. They must fit securely into the studs in the wall. Studs usually sit 16 inches apart in US walls. Using the right type of screw helps prevent accidents.
Anchors support the structure, especially if I’m mounting on drywall or other materials. Different types of anchors may be required based on the wall type. This ensures that everything stays safe and secure as my cats climb and play on their new furniture… It’s crucial to check these fasteners regularly to keep everything stable!
Tools needed for assembly
Next, let's look at the tools needed for assembly. A hand saw will help cut lumber to size. For plywood, a table saw or handheld circular saw works best.
You'll also need a stud finder to locate studs in your wall. A drill is important for installing screws and anchors. Optional tools like a tape measure, pencil, and painter's tape can make planning easier, too.
With these tools ready, you’re all set to build your wall-mounted cat furniture!

Step-by-Step Guide to Building a Wall-Mounted Cat Tree

Building a wall-mounted cat tree has its steps. First, plan where you want the tree to go. Next, install the base shelves using sturdy brackets and screws. After that, add fun bridges and ramps for climbing fun.
Finally, secure all parts well to the wall for safety… Ready to get started?
Planning the layout

I start by choosing a spot for the cat tree. I look for a wall that has enough space. I keep in mind my cat's age and energy level. Young cats love to jump and explore, so I try to place platforms higher up.
The first platform should be 14 inches off the ground.
Next, I plan where to put the shelves and bridges. I space them 12 to 18 inches apart for easy climbing. It’s fun to use corners or areas over doorways, too! This way, my cat can reach every part of their new play area easily….
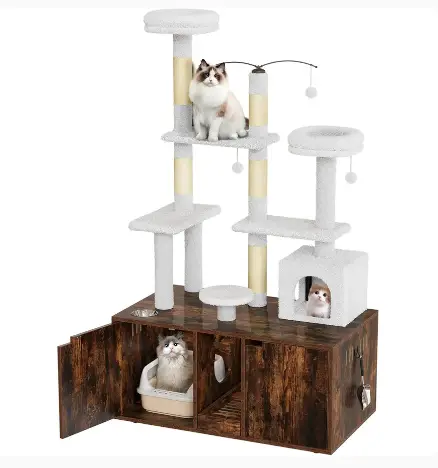
Cat Tree with Double Cat Litter Box Enclosure
Installing the base platforms
Installing the base platforms is simple. First, plan where you want them on the wall. I use a stud finder to find the studs, as most U.S. homes have them spaced 16 inches apart. This helps me know where to drill.
Next, I set my drill to a slow speed when installing furniture bolts. It keeps everything steady and prevents damage. Secure your brackets tightly using screws and anchors for wall mounting.
This will hold everything in place and give my cat safe spots to climb or rest on their new shelves… You can add various levels with cat bridges or cubbies later!
Adding bridges and ramps
Bridges and ramps are key parts of a wall-mounted cat tree. They connect different platforms, giving my cats more climbing options. I make sure the bridges are stable, so they feel safe when jumping from one spot to another.
Ramps help all cats, especially older or disabled ones, reach their favorite places with ease. I secure them well to avoid any accidents. Using miter cuts and biscuits helps create snug fits for strong support.
My cats love exploring their space… with these structures in place, their playtime becomes even better!
Securing shelves to the wall
After adding bridges and ramps, it’s time to secure the shelves to the wall. I make sure at least one mounting point goes into a stud. This keeps everything safe and sturdy. I use screws and anchors designed for wall mounting.
Each shelf should sit 14 inches off the ground or higher for easy access.
I space the cat wall steps 12-18 inches apart. Regular checks are key here. I look for any loose screws or wobbly parts on my cat cubby with perches. It’s important that these shelves stay put! My cats love their new playground, so safety is a top priority….
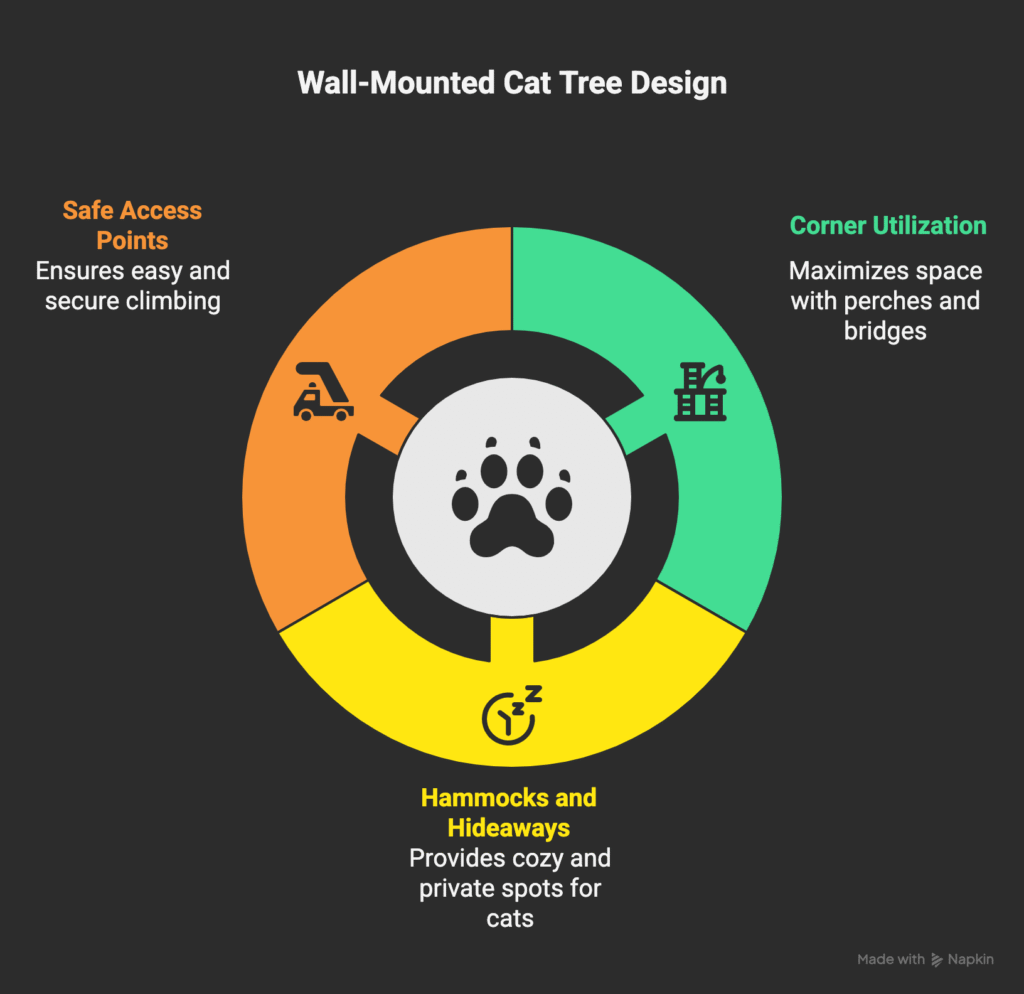
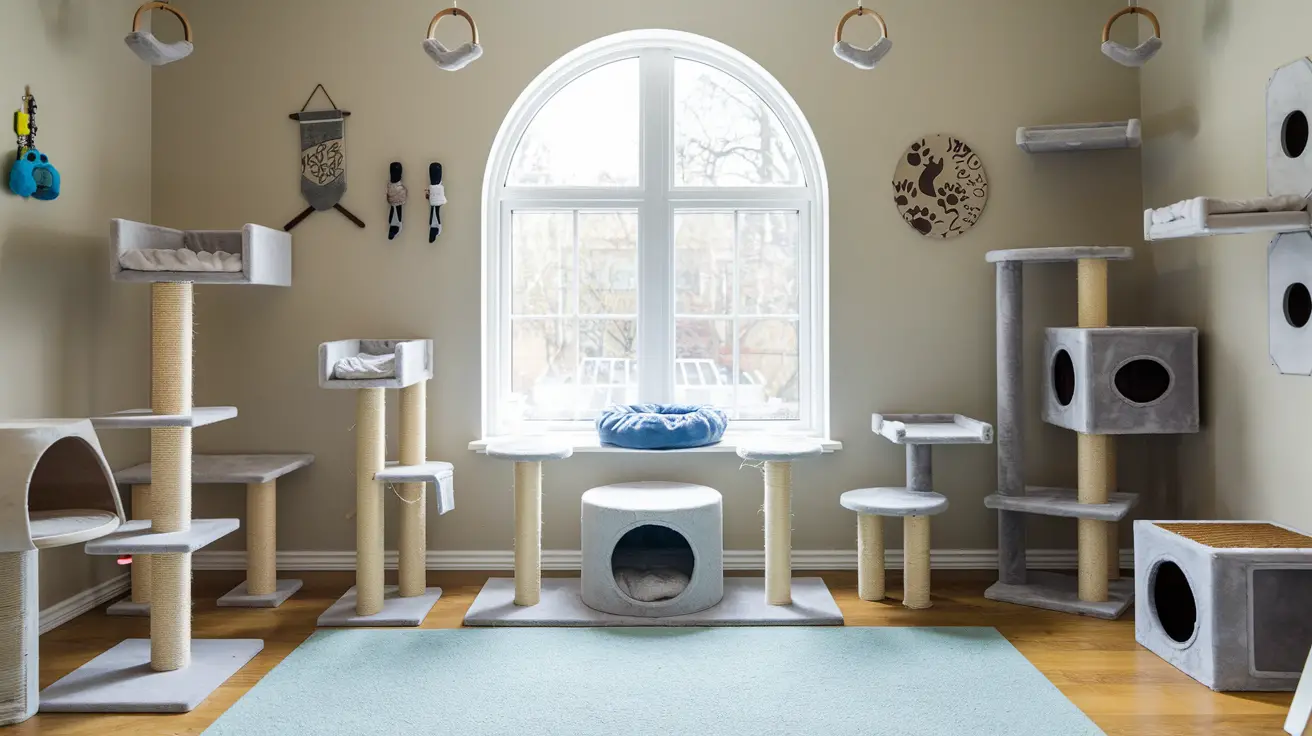
Design Tips for Wall-Mounted Cat Trees

For wall-mounted cat trees, use corners and spaces above doorways. This keeps the tree out of the way while giving your cats a fun place to explore. Add soft hammocks for cozy spots and hidden areas for them to feel safe.
Make sure they can get around easily with ramps or steps… it should be all about ease and joy for your furry friends!
Using corners and over doorways
Corners are great spots for cat perches and beds. I love using them to save space. My cats enjoy looking out from high places. Installing a corner cat bridge helps connect different areas in my home.
It's fun to watch them jump from shelf to shelf.
Over doorways is another clever choice. I mount hammocks and scratching poles there, giving my cats more ways to play and climb. Secure installation is key here; it keeps everything safe and steady for the kitties as they explore their vertical world….
Incorporating hammocks and hideaways
Hammocks give cats a cozy spot to lounge high up. They love to curl up in these soft spaces. I always ensure they are safely supported. This keeps my cat secure while she relaxes.
Hideaways are perfect for private moments. Cats enjoy having their own space to retreat. I like to add small boxes or covered areas to the tree. These spots let my cat feel safe and hidden from view, just like in nature.
Cat Tower with Scratching Posts
Ensuring safe and easy access points
I always think about easy access for my cats. The first shelf or hammock should be 14 inches off the ground. This height lets them jump up easily. Steps need to be spaced 12-18 inches apart.
This spacing makes climbing safe and fun.
Check that all shelves are secure before letting your cat use them. It’s also smart to plan routes carefully, so dogs can’t get to cat food. Safe spots help keep my furry friends happy and healthy while they explore their new tree!
Maintenance and Safety Checks

Check your cat tree often to make sure it’s stable and safe. Look for loose screws or weak spots. Clean it regularly, too. This keeps your cat happy and healthy… Want more tips on keeping things safe?
Routine checks for stability
I perform routine checks for stability on my wall-mounted cat tree each week. I make sure the mounts, shelves, and attachments are secure. This helps prevent any accidents while my cats play or rest.
Loose parts can cause falls, so I look out for wear and tear.
Using safety anchors adds extra support. The 90-degree angle brackets attached to shelves help them stay firm against the wall. If I see anything that looks shaky or worn, I fix it right away.
My cats enjoy their space better when everything is safe and stable!
Wood Cat Tower Heavy Duty with 2 Condos for Large Cats
Tips for cleaning and upkeep
After checking for stability, I focus on cleaning my wall-mounted cat tree. Regularly, I vacuum to remove cat hair. It keeps the area tidy and fresh. Disinfecting is key too. Using a pet-safe disinfectant like Rescue makes sure it’s safe for my cats.
This helps get rid of odors and germs.
I let any cleaned surfaces dry completely before letting my cats back on them. Keeping things clean reduces the risk of viruses and ringworm. A little routine goes a long way in keeping our space healthy!
Conclusion

Building a wall-mounted cat tree is fun and easy. It saves space while giving my cats new places to play. I love seeing them climb, scratch, and relax in their cozy hammocks. Plus, it fits nicely with my home’s look.
This project helps create a happy space for both me and my furry friends!
This website contains affiliate links. As an Amazon Associate and an affiliate for other programs, I earn from qualifying purchases. Clicking on an affiliate link may result in a commission being paid to me at no additional cost to you.


Leave a Reply