A DIY cat wall bridge gives your cat a safe, elevated path to explore — and it keeps your floor space free. Building one yourself costs far less than buying a pre-made system, and you can customize every detail to fit your home. This guide walks you through everything you need to plan, build, and finish a cat wall bridge your cat will actually use.
- Key Takeaway 1: Wall bridges need strong anchoring — always screw into wall studs for safety.
- Key Takeaway 2: Carpet, sisal, or non-slip fabric on bridge surfaces keeps cats confident and prevents slipping.
- Key Takeaway 3: Spacing between platforms should be no more than 18 inches for easy jumping.
- Key Takeaway 4: A bridge system can connect shelves, cat doors, and perches into one continuous highway.
- Key Takeaway 5: Basic woodworking tools and a stud finder are all you really need to get started.
Why Build a DIY Cat Wall Bridge?
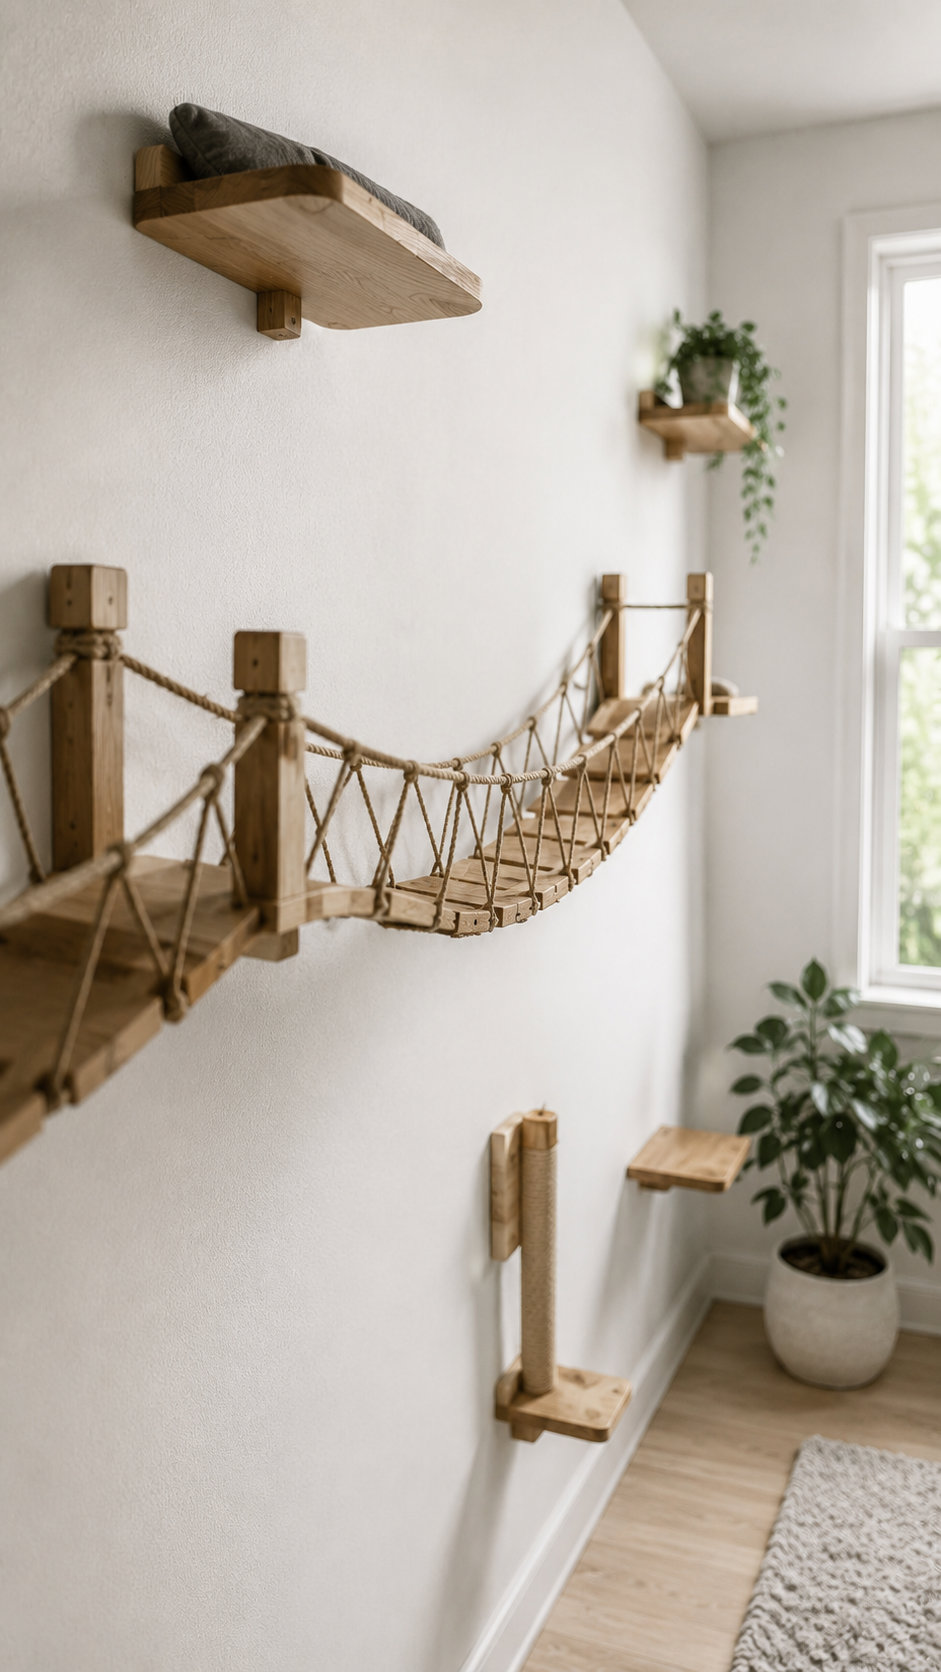
The Benefits of Vertical Space for Cats
Cats are natural climbers. They feel safest when they can survey their territory from above, which reduces stress and unwanted behaviors like hiding or aggression.
A wall bridge system creates what cat behaviorists call “vertical territory.” It gives your cat more usable space without taking up any floor area — perfect for small homes or apartments.
DIY vs. Store-Bought: Which Wins?
Pre-made cat wall systems can cost $200–$600 or more, depending on the brand. A DIY version using basic lumber and hardware typically runs $50–$150 total.
You also get full control over size, color, and layout. Store-bought kits often have fixed dimensions that don't suit every wall or every cat.
The tradeoff is time and a little skill. But if you can use a drill and a level, you can absolutely build a safe, attractive cat wall bridge.
Is It Safe for Your Cat?
Safety is the biggest concern for most cat owners. A poorly anchored shelf is a real hazard — for your cat and anyone below.
When you build correctly — using stud-mounted brackets and proper weight testing — a DIY cat wall bridge is just as safe as any commercial product. Many are actually stronger because you can choose heavier-duty hardware.
Planning Your Cat Wall Bridge Layout
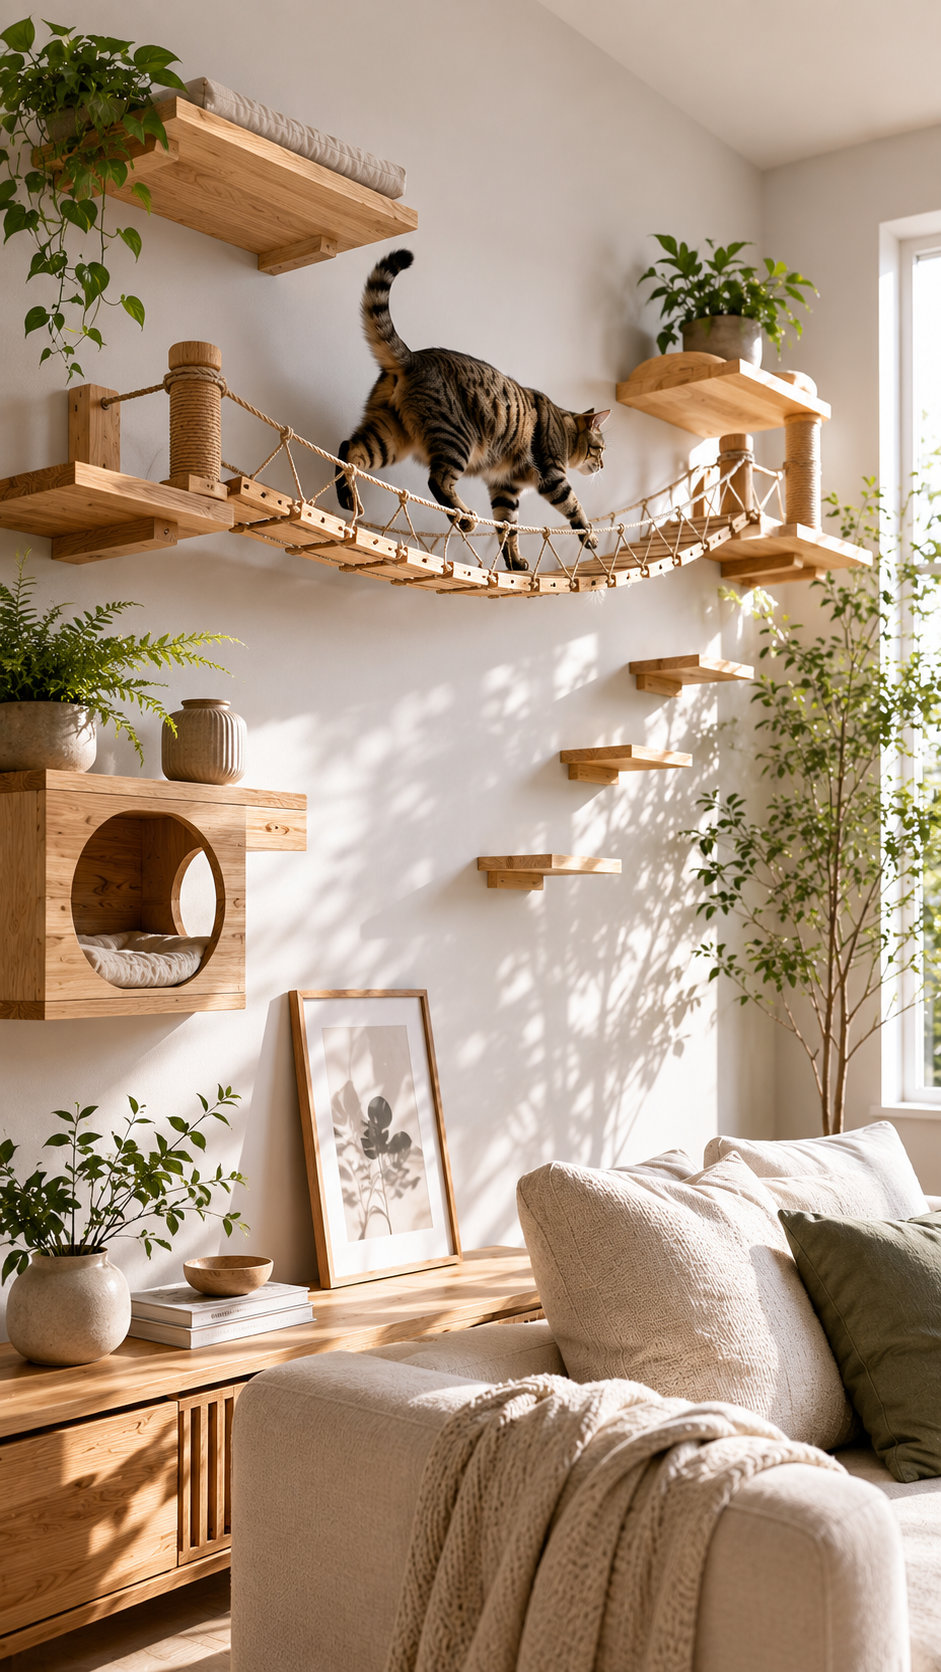
Measuring Your Wall Space
Start by deciding where the bridge will go. Choose a wall where your cat already spends time, or one that connects two favorite spots like a window perch and a bookcase.
Mark the start and end points with painter's tape. Most cat wall bridges run at a height of 5–6 feet, but you can go higher if you include a safe way for your cat to get down.
Measure the total run length, then divide it into sections. Each bridge plank or shelf can be 24–48 inches long, depending on how much wall space you have.
Finding Wall Studs
Every bracket must go into a stud. Use a reliable stud finder to locate studs before you mark anything permanently.
Standard US walls have studs spaced 16 inches apart. If your layout doesn't land on studs perfectly, adjust your shelf positions slightly — never skip this step.
Mark each stud location clearly with painter's tape so you can reference them throughout the build.
Sketching a Route for Your Cat
Think about the full journey your cat will take. Plan an entry point at floor level or on furniture your cat already jumps on, then map out the path across the wall.
Include at least one resting spot — a wider platform where your cat can sit, turn around, or nap. A good resting platform is at least 12 x 12 inches.
Plan a way down too. Cats can jump up easily, but coming down safely requires an angled series of steps or a lower exit shelf near a couch or cat tree.
Materials and Tools You'll Need

Wood Options for Bridge Planks
The most popular choices are 1×6 or 1×8 pine boards. They're affordable, easy to cut, and available at any hardware store.
For a more finished look, poplar or oak boards sand smooth and take paint or stain beautifully. Plywood cut into strips also works well and is very stable.
Avoid particleboard or MDF for wall-mounted pieces. They're heavy, they don't hold screws well at edges, and they can sag over time.
Brackets and Mounting Hardware
Heavy-duty shelf brackets are your best friend here. Look for L-brackets rated for at least 50 lbs each — most cats weigh 8–15 lbs, but the system needs to handle dynamic jumping forces too.
Use #10 or #12 wood screws, at least 2.5 inches long, to go deep into the studs. Short screws in drywall alone will fail under stress.
For a cleaner look, floating shelf brackets (the kind that slide into a pocket in the wood) hide the hardware completely.
Recommended Products
Surface Coverings and Padding
A bare wood surface can feel slippery to cats, especially when landing from a jump. Cover the top of each bridge plank with carpet tile, sisal fabric, or non-slip shelf liner.
Carpet tile is the easiest option — you can cut it to size and attach it with spray adhesive or staples. Sisal has the bonus of being scratchable, which most cats love.
Avoid smooth fabrics like fleece on bridge sections. Save soft bedding for the resting platforms where your cat isn't landing at speed.
Step-by-Step Build Instructions

Cutting and Sanding Your Boards
Measure each board to length and cut it with a circular saw or miter saw. Round off the corners slightly with sandpaper — sharp corners can hurt a cat that misjudges a landing.
Sand all surfaces starting with 80-grit, then finish with 120-grit for a smooth result. Pay special attention to edges and ends where splinters are most likely.
If you're painting or staining, do it before mounting. It's much easier to finish boards on a workbench than on the wall.
Mounting the Brackets
Hold each bracket against the wall at your marked stud locations. Use a level to confirm it's perfectly horizontal before drilling any pilot holes.
Drill pilot holes slightly smaller than your screw diameter to prevent splitting the stud. Drive screws in firmly — they should feel solid, not loose.
Test each bracket by pulling down on it hard before placing any board. If it moves at all, remove the screws and re-anchor correctly.
Attaching the Bridge Planks
Set each board onto its brackets and check the level again. Even a slight tilt can make the surface uncomfortable for your cat.
Secure boards to brackets with short screws from underneath, or use construction adhesive for a cleaner finish. Make sure no screw tips poke through the top surface.
Once all boards are mounted, walk your hand firmly across each one. There should be no wobble or flex. If there is, add a third bracket in the center of that span.
Finishing Touches and Customization

Adding Resting Platforms and Hideaways
A bridge is much more inviting when it includes a place to stop and rest. Add one or two wider platforms along the route — 12×18 inches is a great size for most cats.
You can also mount a small wooden box or enclosed cubby at one end for a hideaway perch. Many cats prefer having a cozy, enclosed option at height.
Add a small fleece pad or washable cushion to the resting platforms for comfort. Cats choose where to sleep based on warmth and security, not just height.
Connecting to Other Cat Furniture
A wall bridge becomes even more valuable when it connects to other cat furniture in your home. Link it to a cat tree, a window perch, or even a cat door to another room.
Use angled “stair-step” shelves to transition between different heights smoothly. Each step should rise no more than 8–10 inches to make it easy for older or less agile cats.
For ideas on integrating your bridge with a full cat enrichment setup, take a look at Ultimate Guide To Cat-Friendly Christmas Tree Ideas.
Making It Look Great in Your Home
Your cat wall bridge doesn't have to look like a utility project. Paint the boards to match your wall color for a minimalist, almost invisible look.
Or go the opposite direction — choose a bold stain color and decorative brackets to make the bridge a design feature. Many interior designers now include cat wall systems in home plans.
Consider matching the carpet tile or sisal color to your existing décor. Small details like these make the finished project look intentional rather than improvised.
Maintenance and Safety Checks

Regular Inspections
Check every bracket and screw monthly for the first six months. Repeated jumping creates vibration that can slowly loosen fasteners over time.
Look at the surface covering regularly, too. Worn or fraying carpet can catch a cat's claw and cause a dangerous stumble.
Re-tighten any loose screws immediately. Never put off a safety check — a falling shelf is a serious injury risk for your cat.
Weight Limits and Overloading
If you have multiple cats, make sure the system can handle more than one cat at a time. A safe rule of thumb is to build for triple your heaviest cat's weight on any single section.
Avoid placing heavy decorative items on the same shelves your cat uses. The shelves are for your cat, not storage.
When to Replace Components
Wood can warp, especially in humid climates. If a board starts to bow or twist, replace it before it becomes a safety issue.
Brackets can corrode over time, especially in bathrooms or near windows. Stainless steel hardware lasts longer in damp environments.
Frequently Asked Questions

How much weight can a DIY cat wall bridge hold?
With proper stud mounting and quality L-brackets rated at 50 lbs each, a single bridge section can safely hold 100 lbs or more. Most cats weigh under 15 lbs, so the real stress comes from landing impact, not static weight.
Always use at least two brackets per board and test each section before letting your cat use it.
What is the best height for a cat wall bridge?
Most cat wall bridges are mounted at 5–6 feet high, which puts them above head height for most people but still reachable for cats via a step system. If your ceilings are higher, you can go up to 7 feet with appropriate exit points included.
Always provide a safe, gradual way for your cat to get down — never rely on cats to jump from full height without an intermediate step.
How do I get my cat to use the wall bridge?
Start by placing treats or a favorite toy on the first platform. Let your cat explore at their own pace — don't force them onto it. Some cats need a few days before they feel confident using a new elevated structure.
Rubbing a little catnip onto the surface can also encourage initial exploration.
Can I build a cat wall bridge in an apartment?
Yes, but check your lease first. Many landlords allow wall anchors when the holes are filled and repainted on move-out. Use the smallest bracket footprint possible and keep to one or two stud holes per bracket.
Patch kits make small screw holes nearly invisible, so this is often less of an issue than renters expect.
Do I need special tools to build a cat wall bridge?
You need a stud finder, a drill, a level, a saw, and sandpaper. That's really it for a basic build. Most of these tools can be borrowed or rented if you don't own them.
A miter saw makes cleaner cuts, but a circular saw or even a hand saw will work for straight board cuts.
Building a DIY cat wall bridge is one of the most rewarding projects you can do for your cat's wellbeing — and for your home. With solid planning, the right materials, and careful mounting, you'll end up with a safe, attractive system your cat uses every single day. Start small with one or two sections, test them thoroughly, then expand the route as your confidence grows.
This website contains affiliate links. As an Amazon Associate and an affiliate for other programs, I earn from qualifying purchases. Clicking on an affiliate link may result in a commission being paid to me at no additional cost to you.






Leave a Reply