Cats are natural climbers and explorers. Sometimes, the spaces in our homes aren't quite expansive enough for their miniature adventures. This limitation can result in them becoming bored or marginally overweight.
My own little feline companion had exhausted the exploration potential of just the living room floor, and I shared her sentiment.
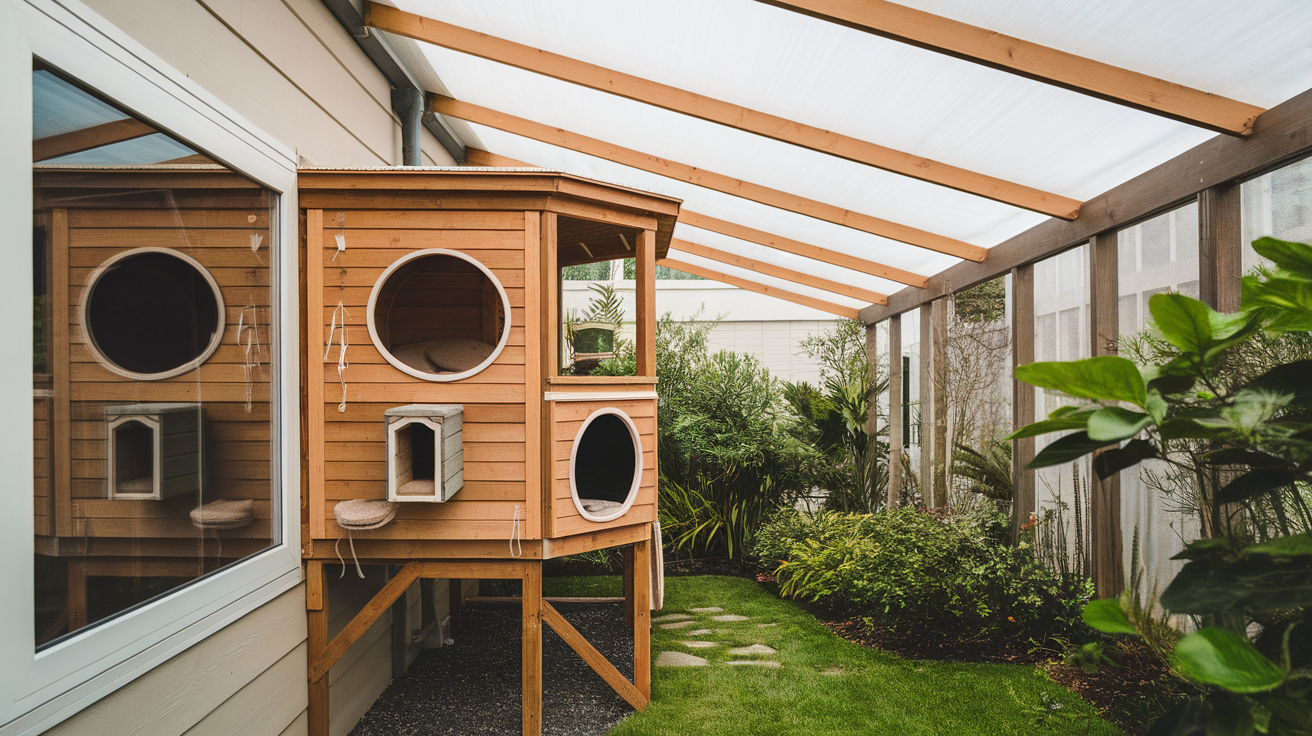
Initiating some exploration on cat health and behaviors led me to an appealing resolution: constructing your very own DIY cat wall house. Envision an indoor playground providing them with platforms to ascend and snug corners high up for those essential siestas.
The prospect of creating one might appear intimidating initially, but in reality, it's far more straightforward than anticipated! Prepared to present your cat with an adventure? Let's get started.
Key Takeaways
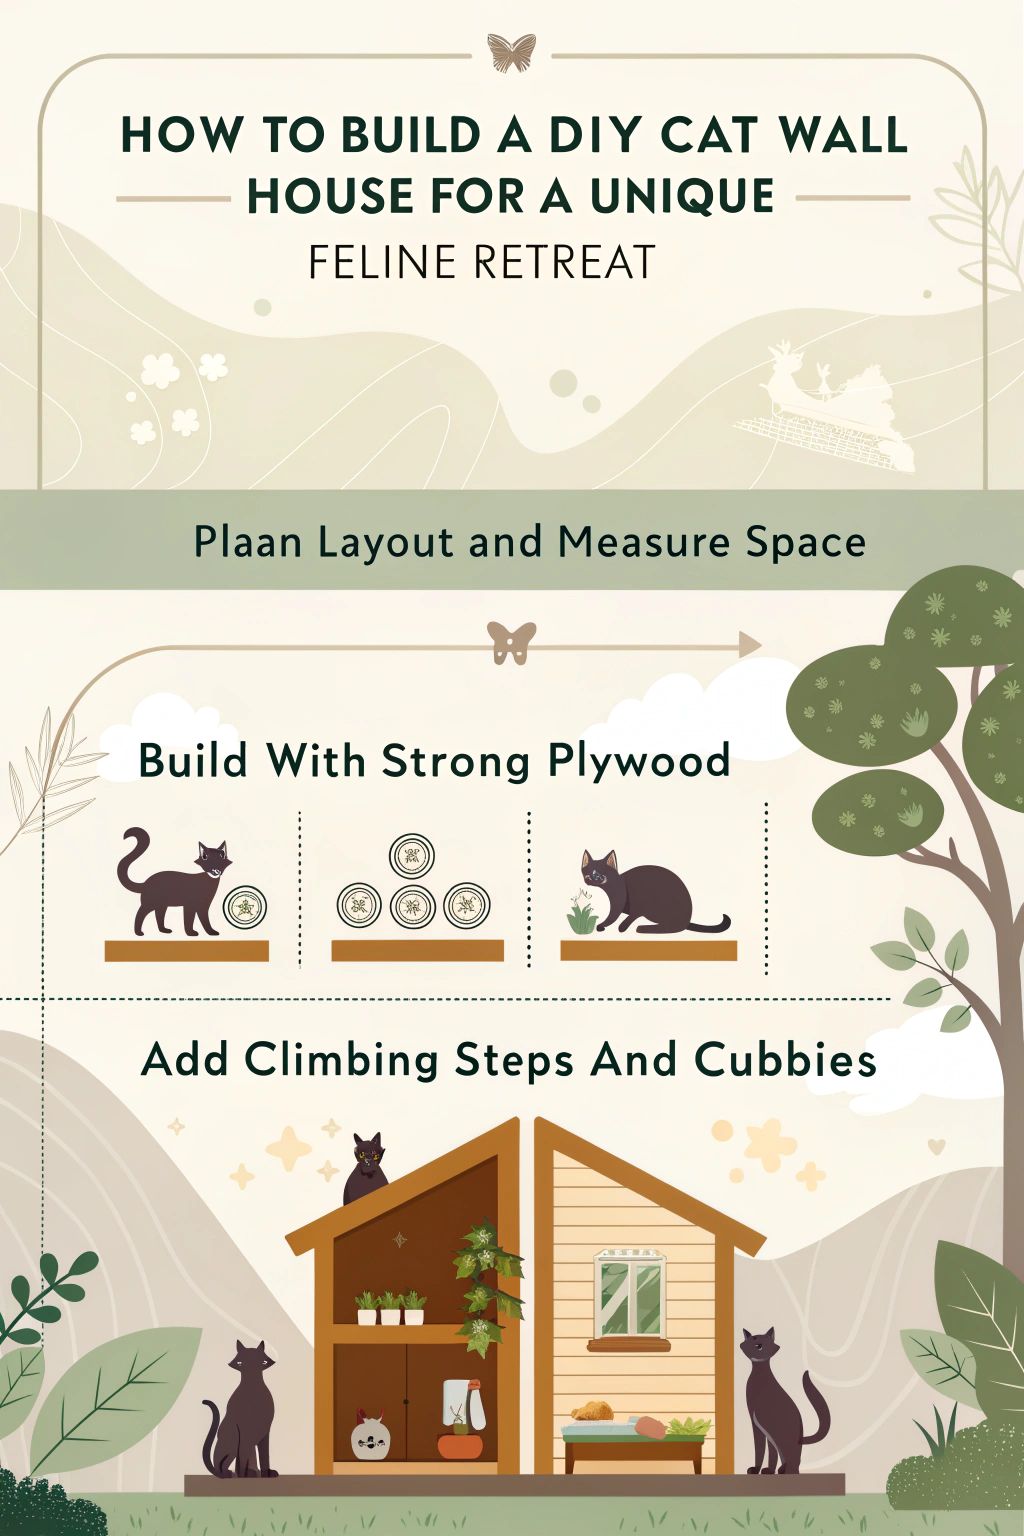
- Start by planning your cat's wall house layout and what your cat likes. Measure the space and choose spots for shelves.
- Use strong wood like plywood for building. You need tools like a drill, saws, and screws to put it together.
- Add features like climbing steps, bridges, hammocks, and cubbies. These keep cats active and happy.
- Check everything is safe. Make sure shelves are secure and check them often.
- You can add fun things like toys or themed decorations to make the cat wall house special.
Planning Your Cat Wall House

Planning your cat wall house starts with a good look at the space you have. Think about where in your home it can go and what spots your cat loves most. You need to figure out what kind of climbs, perches, and cozy spots will make them happy.
Grab a tape measure, pencil, and paper—sketching a simple design helps imagine the setup before building begins. This step is key to a fun and safe retreat for your feline friend.
Assessing space and location

I first measure my room to see how much space I have. It's key to find where the wall supports, or studs, are with a stud finder. This helps me know where I can safely put shelves for my cat to climb.
The perfect starting height for these shelves is 14 inches from the ground.
Next, I think about how my cat likes to move around. Cats love climbing and jumping, so spacing steps 12-18 inches apart works well. This way, they can easily leap from one to another without any trouble.
Also, looking at the whole room lets me pick the best spots for these shelves.
Now that we've got space figured out, let's talk about what materials and tools we need.
Determining your cat's needs and preferences

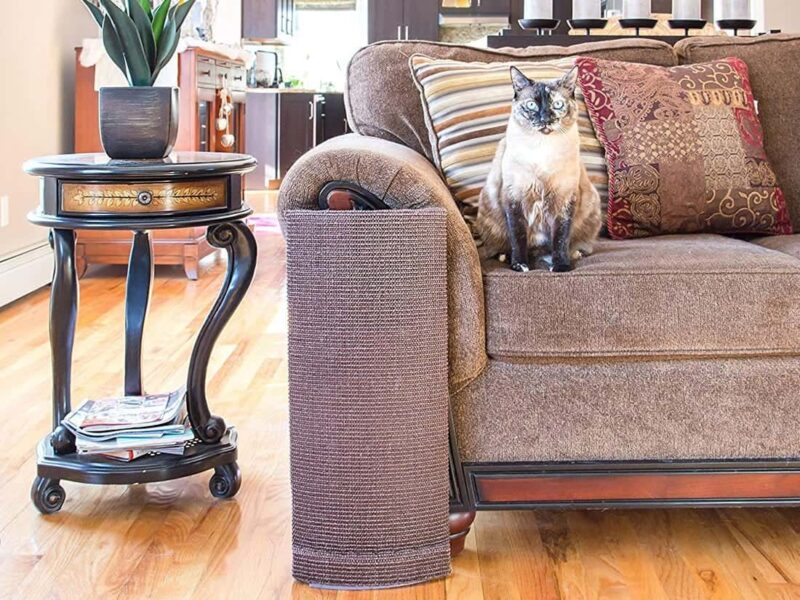
Choosing the right features for my cat is key. I think about what they like and need. For example, high-energy cats love climbing routes. They also enjoy scratching posts to burn off energy.
Kittens benefit from areas to sprint and play.
Older or disabled cats require spots that are easy to access. Lounging areas close to the ground work well for them. Timid cats prefer hiding spots where they can watch without being seen.
If I have multiple cats, I ensure there are enough routes and spaces to reduce conflict… It keeps everyone happy!
Different shelf heights are important, too. Cats can choose their favorite climbing paths based on their comfort levels. This helps all types of cats feel safe and engaged in their unique space.
Every furball deserves a place they feel at home.
Essential Materials and Tools

To build a cat wall house, choose strong wood and soft fabric. You’ll need tools like a saw, drill, and screws for assembly… Make sure everything fits well for safety.
Recommended types of wood and fabric
For the cat wall house, I recommend using wood like plywood. It’s strong and lasts a long time. You’ll need sheets that are 4′ x 8′. These can be cut into tops, sides, and bottoms for your design.
Heavy-duty canvas works well for fabric choices, too. It’s tough enough to handle scratches. Look for colors or patterns that match your home décor.
Sisal and cork are great materials as well. Sisal is good for scratching posts, while cork gives texture that's fun for cats. Choosing the right wood and fabric will help keep my cat safe and happy…
Plus, it adds charm to my space!
Necessary tools for assembly
I will need some tools to build the cat wall house. Each tool has a special job.
- Drill/Driver: This helps make holes and drive screws into the wood. It’s key for strong fittings.
- 1/2″ Drill Bit: This bit fits the drill. It creates holes of the right size for screws.
- Miter Saw: I use this to cut wood at different angles. It's great for neat, precise cuts.
- Table Saw: I rely on this saw for straight cuts in larger pieces of wood. It saves time and effort.
- Jigsaw: This tool cuts curves and shapes in wood. It’s helpful when adding unique designs.
- 18-Gauge Nail Gun: Fast and easy, this gun shoots nails into the wood without a hammer.
- Carpenter's Square: This ensures my corners are square, helping everything fit together well.
- Random Orbital Sander: Smooth edges and surfaces are a must! This sander does just that, making it safe for my cat.
- Sander of Choice: For finer details, I pick my favorite sander to finish those small areas perfectly.
- Sandpaper: I use various grits to clean up rough spots on the edges and corners of the wood.
- Router: This tool shapes the edges of boards and gives them a professional look.
With these tools ready, I can create a nice retreat for my feline friend… they deserve it!
Step-by-Step Construction Guide

Building your cat wall house is fun and easy. Start by planning the layout on paper—think about how your cat moves and plays. Next, gather materials like wood and fabric. Use strong tools to cut and assemble pieces safely…
Climbing features add excitement!
https://www.youtube.com/watch?v=H6iJ6Zgkcz0
Designing the layout
I enjoy designing a cat wall house. It’s fun to plan how my cats will play and rest.
- Assess the space on the wall. Choose a spot that allows my cat to climb and explore safely.
- Consider my cat’s personality. Does he love climbing or lounging? Each cat has different needs.
- Measure carefully before placing shelves and hammocks. The first shelf should be about 14 inches high.
- Plan for steps between levels. Space them 12-18 inches apart for easy access.
- Use corners wisely. Place perches there for great views of the room.
- Create multiple pathways to avoid fights between cats on their shelves.
- Think about adding ramps or stairs to help older cats who might struggle with heights.
- Ensure there is enough space for several shelves at different levels, so all my cats have their own spots.
Designing this layout makes sure my cats stay active, happy, and safe… I can’t wait to see them enjoy it!
Building the base structures
Moving on from the design, it’s time to build the base structures. A strong foundation is key for safety and fun.
- Select Your Wood: I prefer using sturdy plywood for the shelves. It holds weight well and offers stability. Pine is another good choice. Both are easy to find.
- Cut to Size: For each shelf, cut pieces that fit your layout. The height should start at 14 inches from the floor for safety. This allows your cat easy access without risk of falling.
- Locate Studs in the Wall: Use a stud finder to locate wall studs where you’ll mount shelves and hammocks. Mounting into studs will keep everything secure. Aim for these areas for stability.
- Attach Brackets: Install brackets on the wall to hold each shelf securely. Make sure they can support your cat's weight safely when jumping around.
- Install Shelves: Place each shelf onto the brackets, ensuring they are level and secure before letting your cat use them.
- Create Climbing Structures: Add vertical space by building small towers or ramps connected to the shelves—this gives your cat more spots to explore! Spacing components 12-18 inches apart helps them move easily.
- Secure Everything: Double-check every fitting and connection after installation. Loose items can lead to accidents or obesity due to lack of exercise!
Following these steps will help create a safe play area for your furry friend… They’ll love their new retreat!
Adding climbing features
Climbing features are vital for a cat wall house. They keep cats active and happy. Here are some ideas to add them:
- Wall Steps: I make steps 12-18 inches apart. This way, my cats can jump up easily. Starting platforms should be at least 14 inches off the ground.
- Slotted Shelves: Using slotted shelves allows space for climbing without taking up much room. My cats enjoy jumping from one shelf to another.
- Corner Bridges: I install corner bridges to connect different parts of the wall house. Cats love exploring these pathways.
- Cat Trees: Adding small cat trees along the wall gives more climbing options. They can scratch and climb.
- Ramps: Ramps can help older or less active cats reach higher areas safely. It’s good to consider their physical health when building jumps.
- Hammocks: Installing hammocks creates cozy spots for rest after climbing all day. Cats feel secure and relaxed in them.
- Challenging Jumps: I create jumps that match my cat's abilities—no jumps too high or far! Keeping it fun helps reduce aggression during playtime.
- Multiple Entry Points: Having many entry points makes it easier for my cats to move around safely.
Adding these climbing features keeps my feline friends engaged and healthy… It's their unique retreat!
Incorporating Play and Rest Areas

Creating fun zones for your cat is key. I add hammocks and cozy cubbies for rest. Cats love jumping, so I make paths that challenge them too… They’ll enjoy every inch of their new space!
Installing hammocks and cubbies
Hammocks and cubbies give your cat cozy spots to rest and play. They add fun to the cat wall house.
- Choose Locations
Place the hammock at least 14 inches off the ground. This height keeps it safe for your cat while making it easy to climb.
- Secure Mounting
Use strong brackets for the hammock. Make sure they can hold your cat's weight without wobbling.
- Select Materials
Use sturdy fabric for hammocks, like canvas or upholstery-grade material. This will support jumping and climbing.
- Install Hammocks
Attach the hammock brackets to the wall first. After that, hang the fabric securely on those brackets.
- Add Cubby Spaces
Build small shelves or cubbies where your cat can hide or nap. These spots should be easily accessible but still feel like a safe retreat.
- Consider Safety
Check all fittings regularly for security. A secure installation ensures safety during playtime.
- Decorate Cubbies
Place soft blankets inside cubbies for comfort. This invites your cat to relax in its own special place.
- Think About Access Points
Ensure there’s space around doors and windows so your cat can get in and out easily, even when jumping into hammocks.
Creating a space that is both playful and cozy makes life better for my furry friend!
Creating challenging jumps and paths
I love giving my cats fun and exciting spaces to play. Creating challenging jumps and paths keeps them active and entertained.
- Base Height: Use shelves or platforms at different heights. Cats enjoy jumping from one level to another. It helps their agility.
- Sturdy Materials: Choose strong wood for platforms and jumps. I prefer plywood or solid wood, as they can hold my cats safely.
- Variety of Heights: Mix low and high jumps. This caters to all ages and abilities of my cats. Young ones can leap higher while older cats can take it easy.
- Safe Landings: Add soft surfaces underneath jumps, like carpets or mats. These provide a safe place for my cats to land if they miss the jump.
- Multiple Paths: Create various routes for my cats to use! Different paths keep things interesting and help avoid conflicts among them.
- Add Challenge: Incorporate angled surfaces or ramps. My cats love climbing up these slight slopes, which offer extra fun and exercise.
- Interactive Toys: Hang toys near jumping areas. It encourages my cats to jump even more while playing with delightful distractions.
- Visual Barriers: Use dividers between paths to give each cat its space while hopping around! This reduces potential squabbles over territory.
- Regular Testing: Check all the fittings often! Ensure everything is tight and sturdy so that my furry friends stay safe during playtime.
- Observe Cats’ Behavior: Watch how they interact with jumps and paths! Their reactions guide me in making any necessary adjustments for better enjoyment.
Creating these challenges keeps them fit and gives them a happy place to call their own… Their unique feline retreat awaits!
Safety Measures and Stability Checks

Safety is key when building your cat wall house. Check all fittings to make sure they’re secure… Inspect the structure often for any signs of wear or damage.
Ensuring secure fittings
To keep my cat safe, I always check that every fitting is secure. Anchoring shelves and hammocks to wall studs is a must. Sturdy materials like concrete or brick work too. This helps prevent accidents when my cat jumps around.
I ensure all screws and bolts are tight. Loose fittings can lead to falls. Regularly checking these spots keeps my cat’s retreat safe and fun. I also watch for any wear or damage over time.
Using carpenter's tools makes the job easier, allowing me to mount everything firmly. After each installation, I give it a little shake to test its stability… It feels good knowing I’ve made a safe space for my feline friend.
Next up, let’s explore how to add those fun play areas!
Regular maintenance tips
I check the fittings and anchors often. This keeps everything secure. Cat walls need to be mounted into studs, concrete, or brick for safety. If I find any loose parts, I tighten them right away.
I also look for worn-out materials. Any frayed fabric needs replacing soon. Keeping things clean is key, too! I dust and wipe down shelves regularly to make it a safe place for my cat…
A little care goes a long way in keeping my feline friend happy!
Customization Ideas

I love to add personal touches to my cat wall house. You can use fun colors, themed decorations, or even toys and feeders for your kitty.
Themed decorations
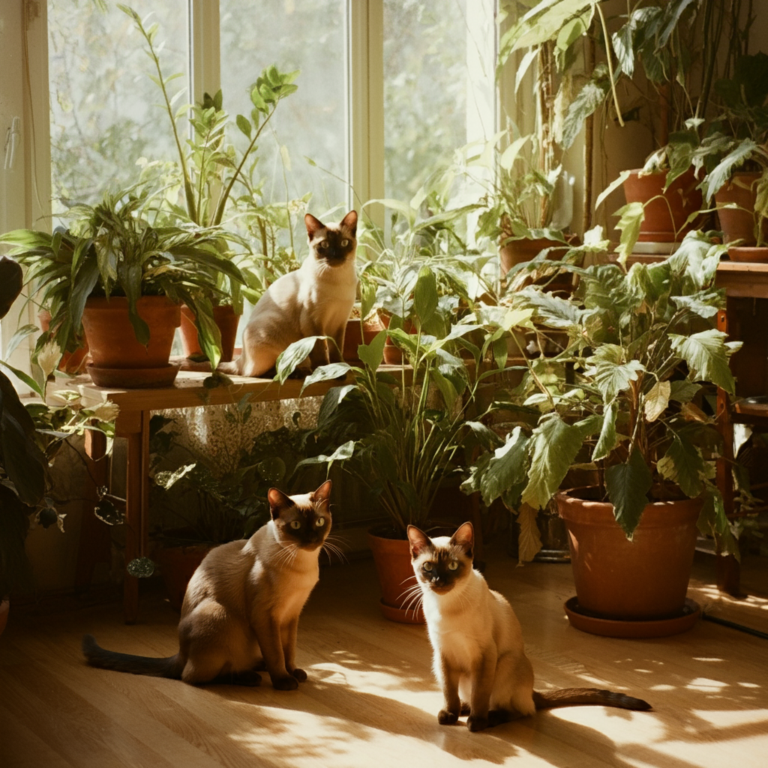
Themed decorations can make your cat wall house feel special. I like to add fun elements that match my home. For instance, using colors that fit the room creates a nice look. Plants also add life and charm to the space.
I often use different patterns and textures in fabrics for pillows or hammocks. This adds comfort and style where my cat loves to relax. Interactive toys or feeders are great too! They keep my feline engaged while fitting into the theme perfectly.
With themed decorations, you can really show off your style and make a unique retreat for your cat… Now, let’s consider how to set up play and rest areas next.
Interactive elements like toys and feeders
Toys and feeders make playtime fun for cats. I have seen how interactive toys can keep them busy. Cats love to chase, pounce, and play with these items. They help reduce boredom and support natural behaviors.
Choosing the right toy is key. Different cats like different things. Some enjoy feather wands; others prefer balls or laser pointers. Feeders also add excitement during mealtime. Puzzle feeders slow down eating and engage their minds.
I always mix it up with various toys and feeders. This variety keeps my cat interested and active. Regularly changing the toys feels new for them, too!
Conclusion: Enjoying Your Cat's New Retreat

Building a DIY cat wall house is fun and rewarding. I love watching my cat play and rest in her new space. She enjoys climbing, jumping, and lounging. It adds joy to our home. Try it out for your furry friend!

Leave a Reply