Observing your cat leap from shelf to couch can inspire a need to construct something engaging for them to climb and relax on. Many of us seek to enrich our pets' lives but might be uncertain about the starting point.
Cats love climbing because it allows them to view their territory from an elevated position, which is a factor that piqued my interest.
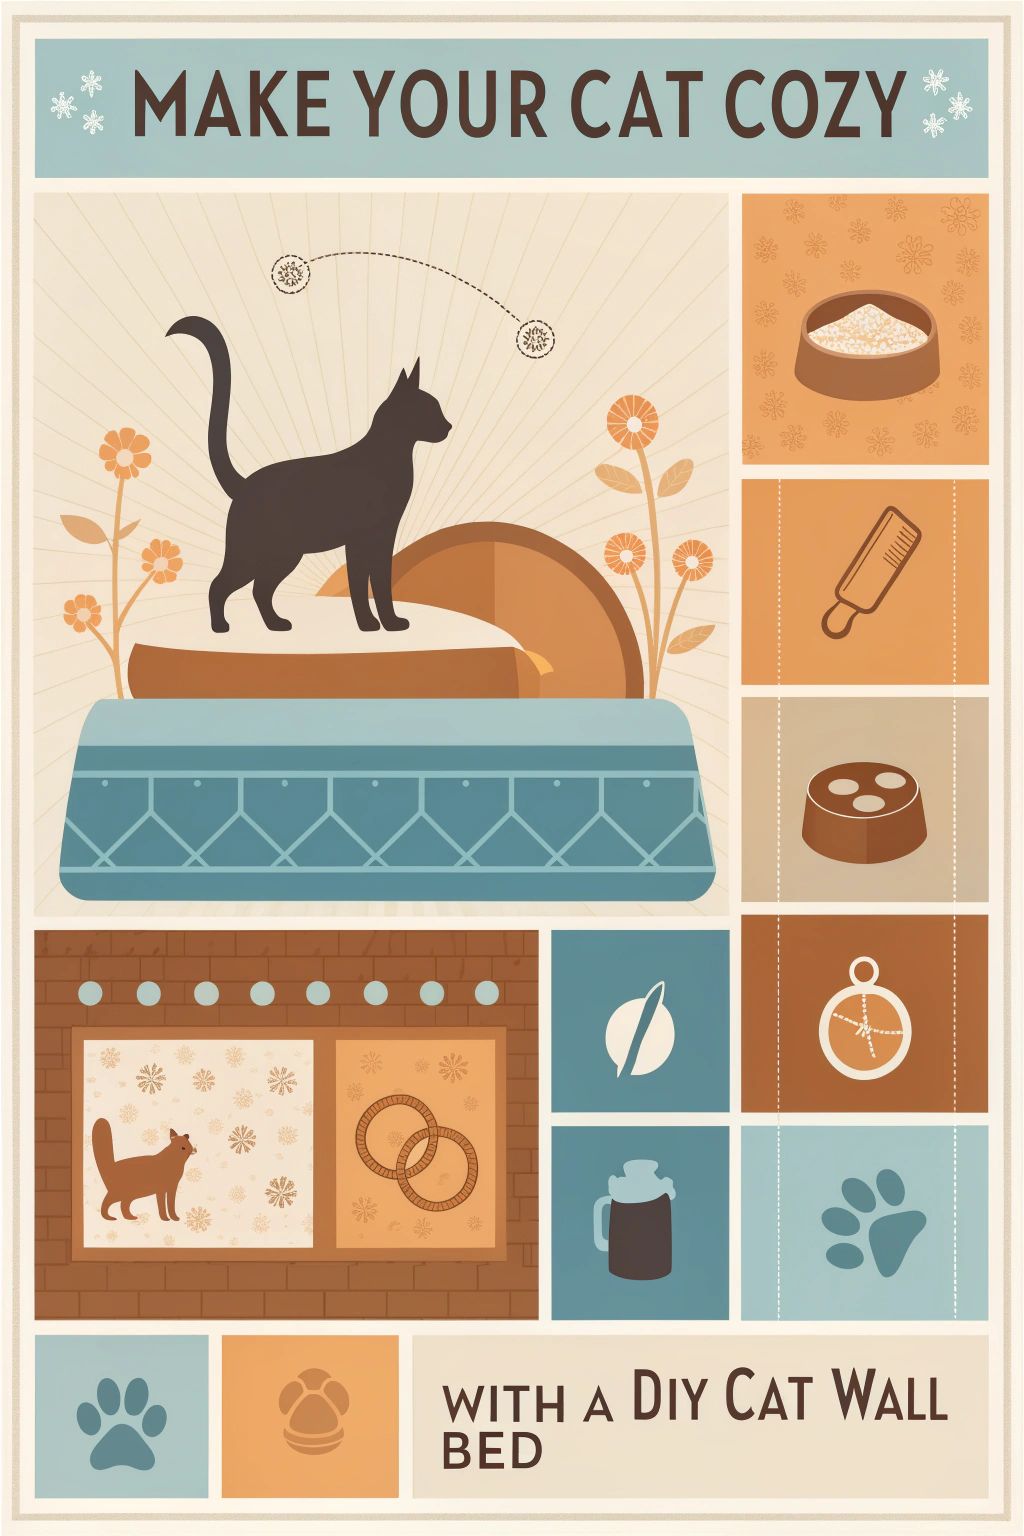
This curiosity prompted my initiation of a DIY cat wall bed project, merging fun with comfort directly on your home walls. The thought involves incorporating shelves, scratch posts, and even hammocks! Experimentation with different structures aided me in discerning cats' preferences and what could potentially be less enticing.
In this guide, I'll disseminate advice on organizing, building, and ensuring the security of your new cat furniture.
Let's get started and create something unique for your furry companion.
Key Takeaways
- Planning is key for a DIY cat wall bed. Think about what your cat likes and choose the right spot away from litter and food.
- You'll need sturdy wood, screws, soft fabric, bubble domes, wall-mounted beds, brackets, shelves, primer, paint, brushes, wallpaper or decorative paper, glue like Mod Podge, and strong wall plugs to build it.
- Safety first: make sure shelves are stable and properly spaced. Use solid materials and anchor everything well to prevent accidents.
- Get creative with hammocks for lounging and use repurposed furniture like old bookshelves or dressers for extra climbing spaces.
- Help your cat get used to the new bed by using treats or toys as incentives. Let them explore at their own pace for a smooth introduction.
Planning Your Cat Wall

When planning your cat wall, think about what your furry friend likes. Choose a spot in your house where they love to hang out.
Understanding Your Cat's Needs

Every cat is different, just like us. Their needs change based on their age, personality, and how much energy they have. We need to think about these things when we make a DIY project for them.
For example, a young cat might love to jump and climb high places while an older one may prefer easier-to-reach spots.
Choosing the right spot for your cat's wall bed matters too. It should not be too close to their litter box or food area. Also, making sure there are no dangers nearby is key. A shelf height of about 14 inches off the ground works well for most cats to get on easily.
We keep these points in mind because we want our furry friends to feel happy and safe in their homes. This helps us design better spaces that match what they enjoy doing – whether it’s sleeping up high or scratching posts placed just so they can stretch and scratch whenever they feel like it.
Selecting the Right Location

Choosing the right spot for your cat wall bed is key. Cats love high places and corners make great perches. I like to start my first shelf or hammock about 14 inches off the ground.
This height is safe and easy for them to reach.
Next, think about spacing between shelves or steps. I recommend keeping it 12-18 inches apart. Adjust it based on how comfortable your cat feels jumping up or down. Also, find wall studs before installing anything, especially in corners since their spacing can be different each time.
A solid base helps keep everything secure…
Now that we have a good location planned, let’s move on to what you need for building the cat wall bed!
Essential Components for a DIY Cat Wall Bed

Creating a cozy cat wall bed means picking the right shelves and platforms for your feline friend. You'll need sturdy wood, screws, and some soft fabric to make it comfy… Your cat will love the new space!
Types of Shelves and Platforms
Creating a DIY cat wall bed is simple. Different types of shelves and platforms fit various needs.
- Basic Shelves: Flat wooden boards work well. They give your cat a nice spot to rest and watch the world.
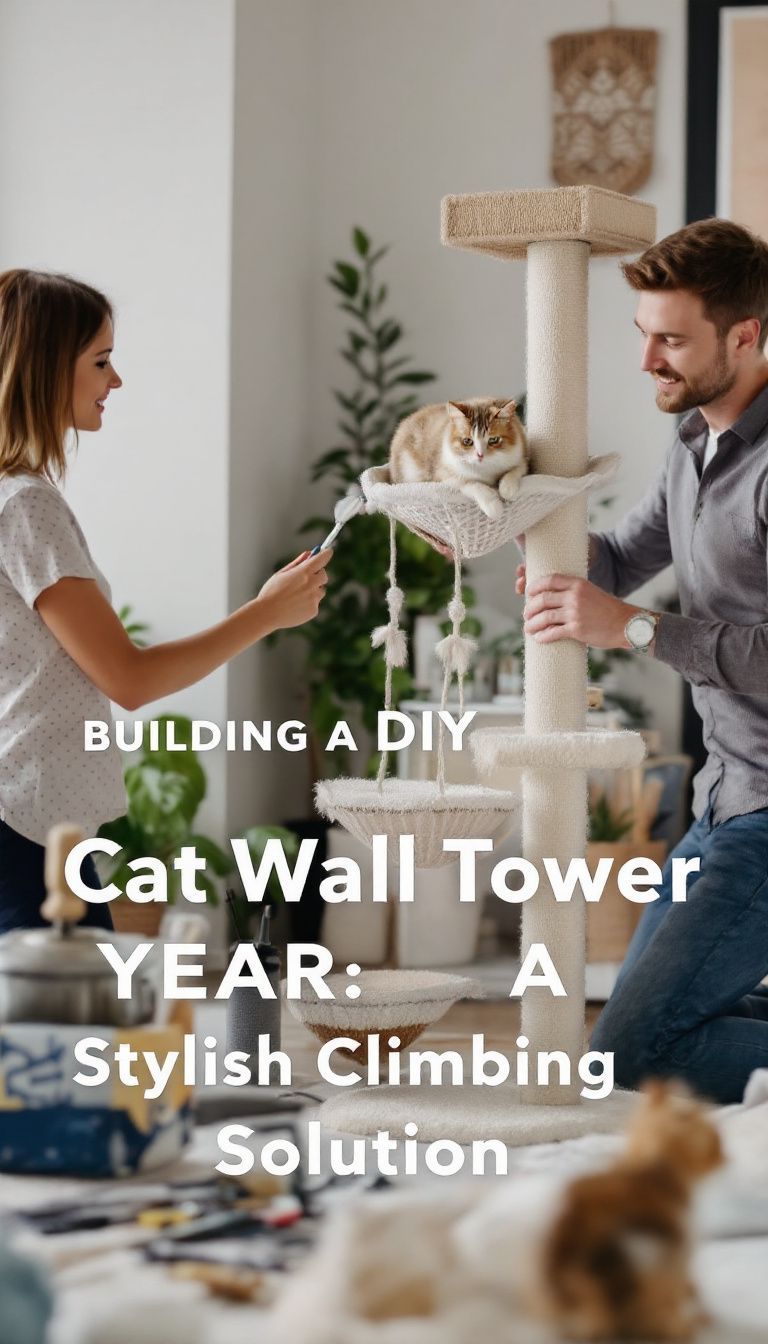
- Hammocks: These are soft and comfy. Hanging them securely will let your cat snuggle up in style.
- Corner Shelves: These use space wisely. They help keep your cat’s climbing area open while adding depth.
- Bridges: Connect two shelves with a sturdy plank. This makes a fun pathway for your furry friend.
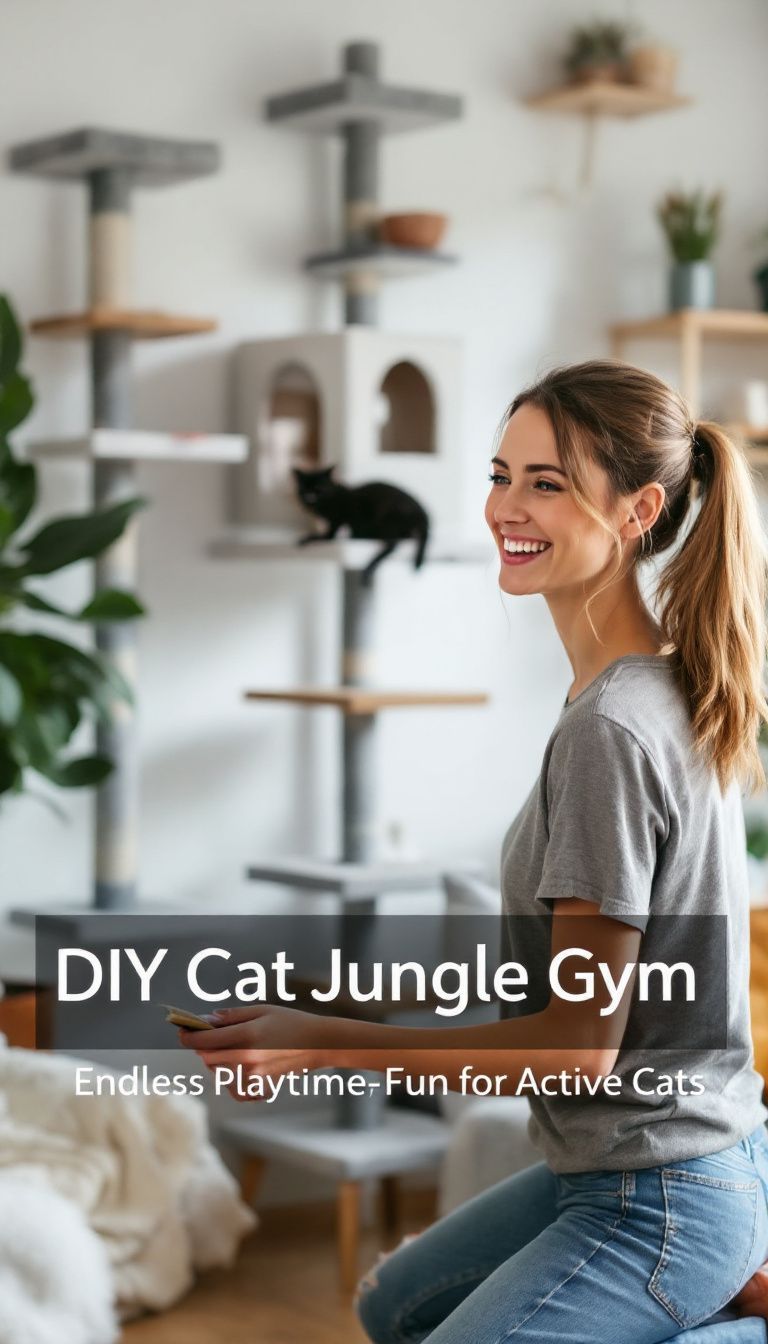
- Cat Trees: Add height with these structures. They come with multiple levels for climbing, scratching, and lounging.
- Repurposed Furniture: Old bookshelves can become great cat beds. Just make sure they are stable to avoid any accidents.
- Wall-Mounted Boxes: These cozy hideouts let cats feel safe while they nap or watch below.
- Vertical Climbing Platforms: Install multiple small levels close together for easy climbing. Start low around 14 inches off the ground to help your cat explore safely.
Choose components that suit your cat's personality and space at home… Your furry friend will love it!
Materials Needed
For a comfy DIY cat wall bed, you need the right materials. Here’s what I used:
- Two Bubble Domes – These are fun bubble seats from Amazon. They give your cat a cozy spot to relax and watch the world.
- Two Wall-Mounted Cat Beds – I found these at Zooplus. They add extra space for sleeping and lounging.
- Eight Wall Brackets – These sturdy brackets from Ikea are key to keeping everything safe and stable on the wall.
- Four Shelves – I used three shelves in my final design. They offer different heights for climbing and resting.
- Leftover Wood – Any scrap wood works great for extra support or designs.
- Screws – Strong screws hold everything in place securely.
- Primer and Paint – Use primer before painting to protect the wood and make it look nice.
- Paint Brushes – These help with applying paint evenly on surfaces.
- Wallpaper or Decorative Paper – You can use this for added flair on the shelves or platforms.
- Glue (Mod Podge Recommended) – This helps stick decorative items onto your surfaces safely.
- Extra Heavy Wall Plugs – These provide additional strength when attaching to your walls, keeping everything balanced.
With these materials ready, you’re set to build a cozy space for your feline friend!
Step-by-Step Guide to Building a Cat Wall Bed

Building a cat wall bed is fun and easy. Start by installing base platforms securely on the wall… then add climbing shelves for your cat to explore!
Installing Base Platforms
Installing base platforms is key for a cozy cat wall bed. I want my cat to feel safe and happy up high.
- Choose the Right Shelves: I like sturdy wood or heavy-duty shelves. They should hold my cat's weight well.
- Find the Studs: Using a stud finder helps me locate strong supports in the wall. This way, I ensure stability when I install the shelves.
- Measure Spacing: I leave 12-18 inches between each shelf. This space fits my cat's jumping ability and gives her room to climb safely.
- Attach Base Platforms: With screws, I secure the shelves to the wall. Using at least two screws per shelf helps keep everything stable.
- Check Level: I use a level tool to make sure each shelf is even. A level surface makes it easier for my cat to relax and play.
- Add Corner Shelves: Installing shelves in corners gives my cat a great view of the room. Cats love those perfect perches!
- Test Before Use: After installation, I gently press down on each platform to check stability before letting my cat explore.
Getting these platforms right sets the stage for more climbing fun… Next, I'll add vertical and horizontal climbing elements!
Adding Vertical and Horizontal Climbing Elements
Adding climbing elements makes your cat wall fun and engaging. Cats love to explore different heights and surfaces. Here’s how to add vertical and horizontal features:
- Choose Vertical Spaces
Use tall shelves or cat trees to create height. Place these around 14 inches off the ground. This height helps younger cats jump up easily.
- Install Horizontal Platforms
Add flat platforms at various heights. These give your cat spots to rest, watch, or play. Make sure they are wide enough for your cat to feel secure.
- Incorporate Sisal Posts
Sisal posts are great for scratching and climbing. Position them near shelves so your cat can stretch while climbing.
- Utilize Wall Corners
Corners offer a chance to save space while adding interest. Build corner shelves or L-shaped platforms for climbing enjoyment.
- Create Climbing Routes
Design tricky paths with small ledges or narrow steps. These routes challenge heavier cats while keeping younger ones engaged.
- Mix Horizontal and Vertical Elements
Combine shelves and hammocks along the walls for variety. Cats enjoy switching between lounging and jumping.
- Use Repurposed Furniture
Old furniture can become new climbing spaces! Try using bookshelves or dressers as bases for additional platforms.
- Ensure Safe Installations
Secure all elements tightly to the wall studs. Stable installations prevent accidents during playtime.
- Maintain Proper Spacing
Leave enough room between elements for easy access and jumping down safely.
These tips will help you create a cozy climbing zone that suits your cat's needs perfectly!
Safety Considerations

Safety is key when building a cat wall bed. Ensure the shelves are strong and stable—your cat deserves a secure spot to relax. Keep enough space between each shelf for climbing, so your furry friend can move safely.
Ensuring Stability of Wall Installations
Installing a cat wall bed means ensuring it's safe and stable. I always anchor components to wall studs. This supports my cat’s weight and helps prevent accidents. Using solid wood or metal is key for durability.
I check fittings and screws regularly. If anything feels loose, I tighten it right away. Stability matters for my cat's safety and comfort in their space. Low-traffic areas are best for installation too—this keeps both the cat and everyone at home safe.
With the wall bed secure, I can explore fun design ideas next…
Proper Spacing Between Elements
I focus on spacing between shelves. Proper vertical spacing is key. I keep it between 12-18 inches. This lets my cat jump easily without fear. Horizontal space should be 12-16 inches apart too.
It’s important for their comfort and playfulness.
Adjust the height based on my cat's jumping skills. If they can leap high, I place shelves higher up. Stability matters as well—installing them into wall studs provides support and safety…
It's all about creating a cozy space that feels fun and safe for my feline friend!
Creative Design Ideas

I love adding fun to a cat wall bed! Think about using hammocks for lounging or creating little hideouts with cardboard boxes.
Incorporating Hammocks and Hideouts
Hammocks and hideouts make a cat wall bed more fun. Cats enjoy cozy spots to relax and play.
- Choose the Right Hammock Size
Select hammocks that fit your cat's size. Large ones (27″ x 17.5″) are great for bigger cats, while small/medium ones (22″ x 13.5″) suit smaller breeds.
- Use Durable Fabrics
Use tough fabrics for hammocks. Good choices include indoor/outdoor fabric, denim, or even old wool blankets. These materials last longer and feel nice for your cat.
- Add Padding for Comfort
Include padding in the hammock design. Soft padding enhances comfort, making it a cozy spot for your furry friend to lounge all day.
- Secure Installation is Key
Install hammocks securely on the wall. Use strong carabiners or wire shower hooks to hang them safely. This keeps your cat safe while they jump in and out.
- Create Hideouts with Shelves
Add shelves to form hideouts next to hammocks. Cats love to climb and hide, so having extra shelves creates more playful spaces for them.
- Mix Up the Layout
Arrange hammocks at different heights along the wall. This variety encourages climbing and exploration, making the area exciting for curious kitties.
- Use Repurposed Furniture
Old furniture can become great hideouts too! Think about using an old dresser or bookcase as part of the cat wall bed setup—cats will love exploring new spots!
- Decorate with Cat-Friendly Items
Consider adding toys or scratch pads near hideouts and hammocks. Cats enjoy playtime, and these items keep them entertained while they lounge around.
Incorporating these ideas into your DIY cat wall bed makes it cozy and playful!
Using Repurposed Furniture
Using repurposed furniture is a great way to save money and create a cozy space for your cat. I love getting creative with unused items around my home.
- Bookshelves: Old bookshelves can become cat shelves. Just secure them to the wall at different heights. Your cat will enjoy climbing and lounging on them.
- Dressers: An old dresser can be transformed into a multi-level cat bed. Remove some drawers, add cushions or blankets, and your cat has a perfect hideout.
- Ladders: A wooden ladder makes a fun climbing frame. Lean it against the wall and add sturdy platforms for your cats to perch on.
- Crates: Wooden crates can create cozy hideouts and sleeping places. Stack them in interesting ways or place one on its side for a cave-like feel.
- Tables: Old tables can serve as good bases for platforms or beds. Cut down table legs if needed to lower the height for kitties that prefer an easy jump.
- Window Seats: Repurpose an unused bench by your window for a sunny spot where your cat can relax and watch outside.
- Old Suitcases: Vintage suitcases look cool and provide storage too! Stack them up, cut holes if needed, and make fun spaces for your kitty to explore.
- Side Tables: Small side tables are perfect for resting spots near furniture or beds. Add cushions or blankets to make them warm and inviting.
- Baskets: Woven baskets are soft and cozy! Place one in a quiet corner filled with a blanket, creating a lovely nook for your furry friend.
- Woodworking Projects: If you’re handy with woodworking, use scraps to build shelves or steps specifically made for your cats' needs.
Repurposing furniture not only saves money but also adds character to your home while keeping your feline friends happy!
Acclimating Your Cat to the New Wall Bed

Cats need time to adjust to new spaces. Use treats or toys to encourage your cat to explore the wall bed. You can place their favorite blanket up there too… that helps them feel safe and cozy.
Be patient, let them come around at their own pace.
Incentives and Rewards for Use
To help your cat use the new wall bed, I found that incentives work great. Cats love treats and toys. You can place a few treats on the shelves to attract them. Praise your cat when they explore their new space.
This positive reinforcement encourages them to climb and play.
I also discovered that making it fun is key. A feather toy or a favorite blanket on the bed can spark curiosity. Gradually introducing these elements made my cat more eager to check out her cozy spot…
Now, let’s look at how to gradually introduce your cat to the new wall bed!
Gradual Introduction Techniques
Cats can be cautious with new things. I found that letting them explore at their own pace works best. Start by placing the cat wall bed in a safe spot. Let your cat sniff and look around without pressure.
Using treats helps too! I rewarded my cat every time she showed interest. Catnip can attract her to the new furniture as well. Short sessions are key—let her leave when she wants, then try again later.
This gentle approach makes my cat feel more comfortable and ready to enjoy her cozy space.
Conclusion and Additional Resources

Creating a DIY cat wall bed is a fun way to make your furry friend cozy. It gives them space to climb, play, and relax. Take time to understand their needs. Use safe materials and sturdy designs.
With a little effort, you can build something special for your cat. Enjoy the journey together!

Leave a Reply